Tea Cart Update
Are you looking to restore that old, vintage tea cart found at a flea market or in your attic? If you’re looking for a one-of-a-kind piece of furniture to give a fresh, inviting look to your home, then look no further! With our Tea Cart Update, it’s easy to refinish a cart and bring it into the 21st century. Get ready to refinish a cart and bring it to life! -This post may contain affiliate links, which means I may receive a small commission, at no cost to you, if you make a purchase through a link.-

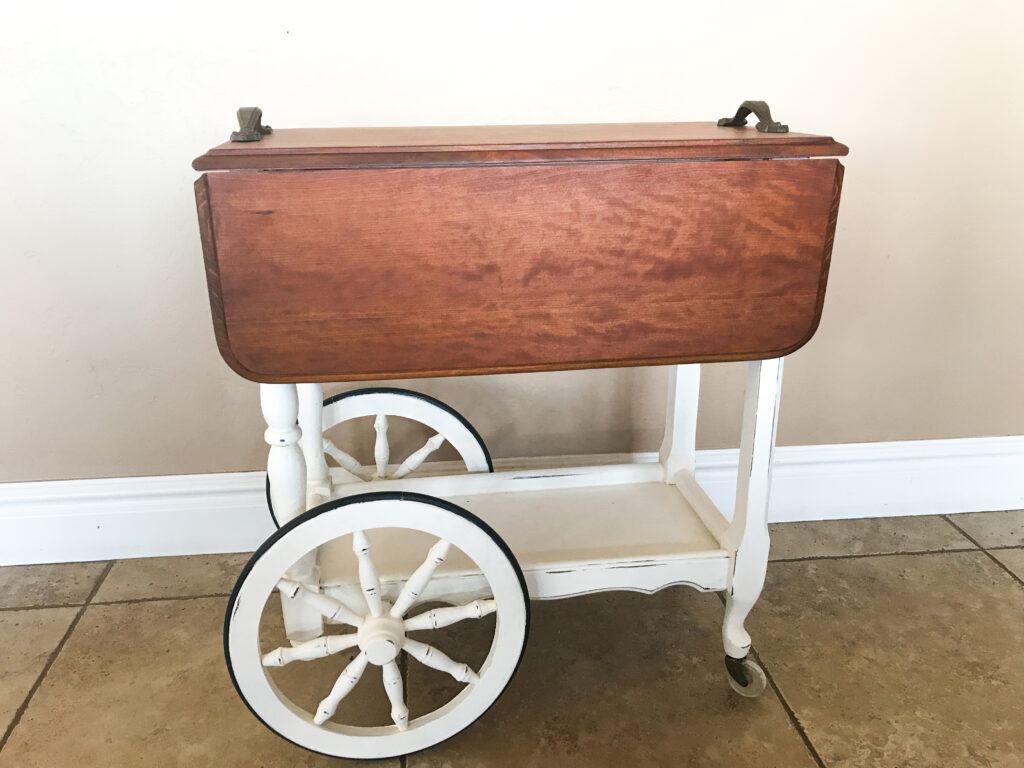
My friend found this tea cart on Facebook and thought I would enjoy it. I loved how the sides folded up and down and the original hardware still worked. The wheels rolled so it could be tucked anywhere. I thought it would be perfect in my kitchen to hold the kids’ art supplies.
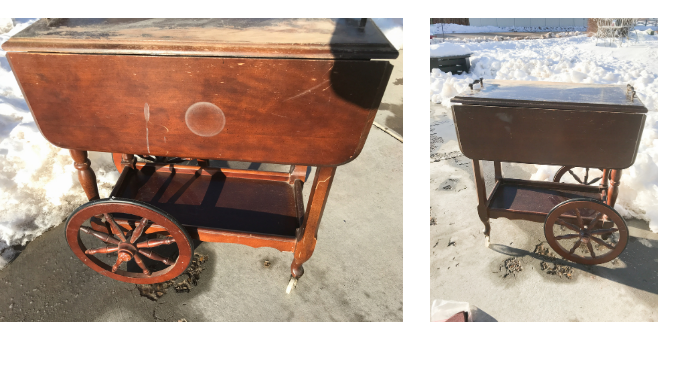
I must admit I had it for several months before I refinished it. The cart was in decent shape; just cosmetic issues that could be covered up with a tablecloth. I used it in a Beauty and the Beast bridal shower I threw in my backyard. You can see that post here.
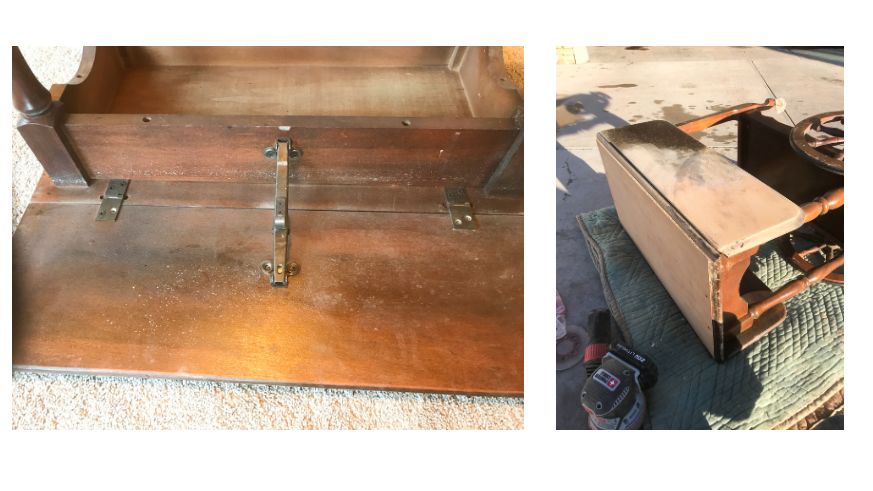
The first thing I did was to sand the three little tabletops. I removed the original handles but left the folding hardware. I left them attached while I sanded. I was able to use my power sander on the tops but had to use elbow grease and sandpaper on the edges. I then removed the tops, saving the hardware.
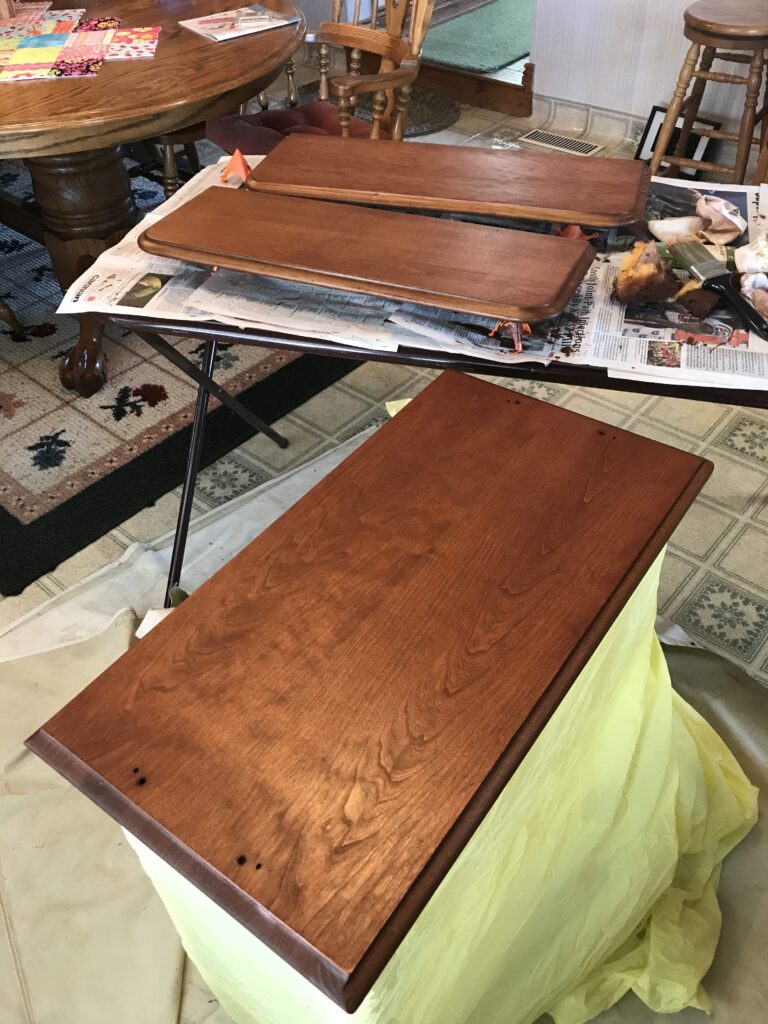
I wanted a dark finish against the white of the bottom. I also wanted a matte finish. Read the instructions on the can of finish you choose. It will tell you how long to leave on before wiping off for the perfect shade.
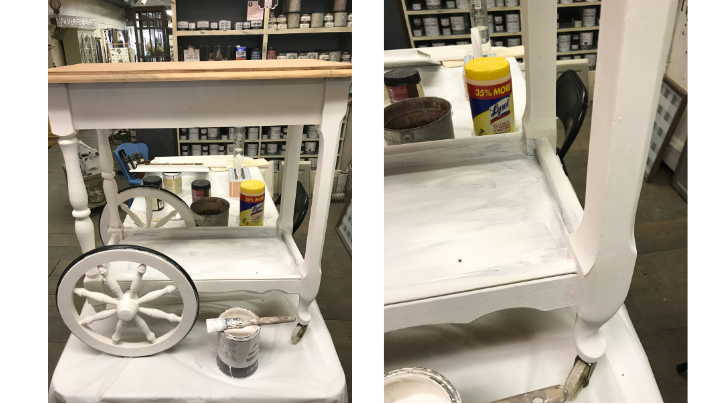
I chose a white chalk paint for the bottom. I had to really scrub out the corners and make sure any grease was wiped off. It took me a couple of coats to get the desired shade. The wheels were a little tricky to paint but lucky for me I was going to distress it anyway. After the paint was dry, I used sandpaper to rub some paint off where the edges would naturally be distressed. I like the farmhouse distressed look. I then sealed the paint with wax that was the same brand as the paint. Chalk paint is so handy because there isn’t much prep beforehand. Just make sure it’s nice and clean; no need to sand.
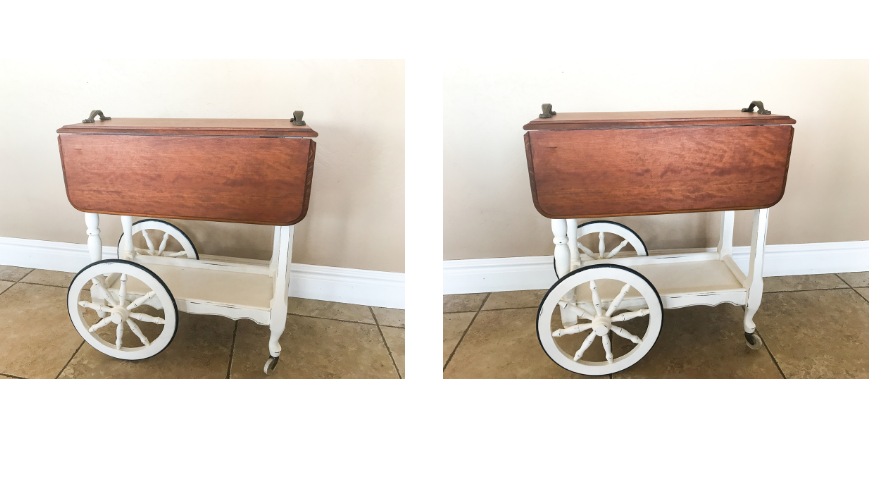
I didn’t like the original handles, so I ordered some that were a bit thicker. The hole placement on my new handles were bigger than the original handles, but the new handles covered the holes so you can’t see them. I did use the original hardware that folds the tabletops up and down. I was very grateful those worked properly!
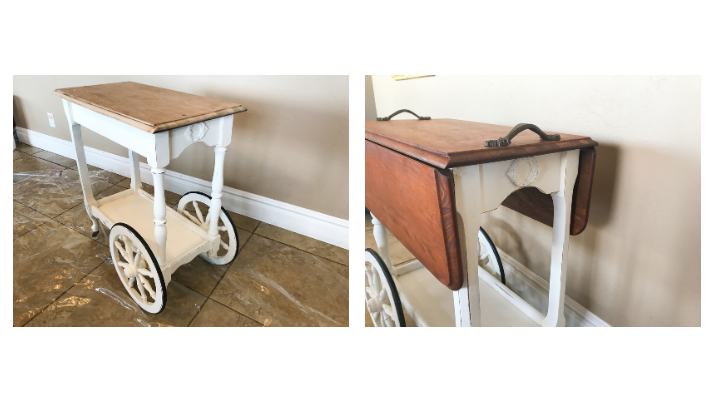
I found this cute resin wreath at a store in my town. I glued it on with wood glue and then painted over it. I love the little detail it added to the sides. It makes it just a bit fancier.
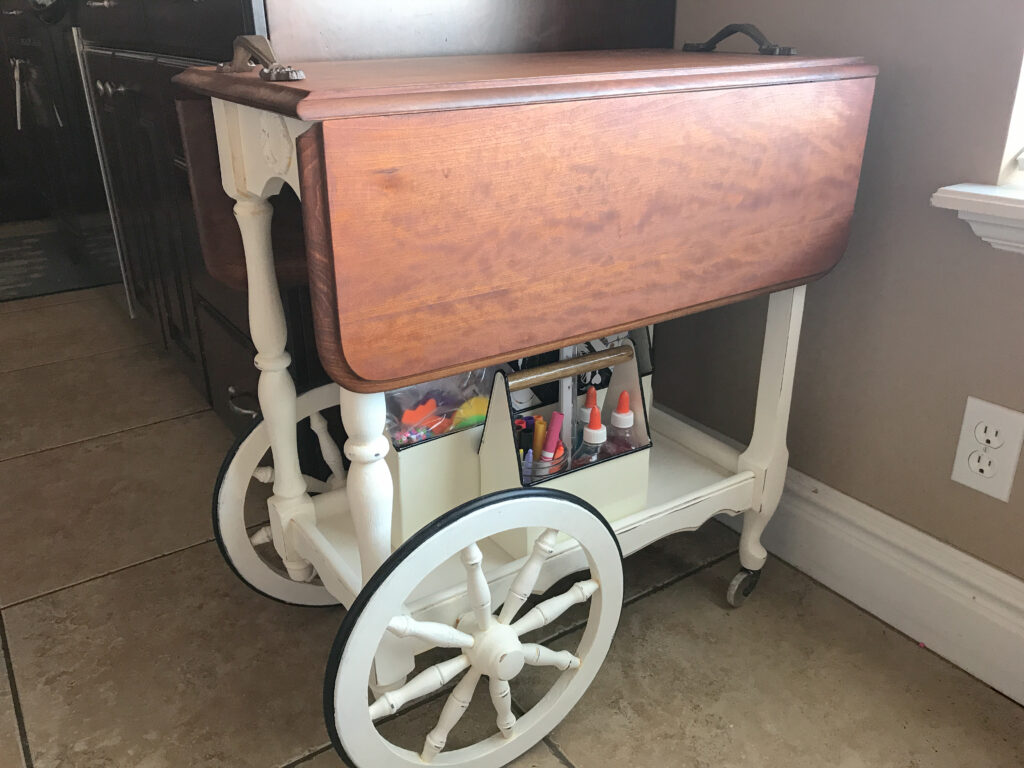
It sits in my kitchen next to the cupboards. The bottom holds two buckets that are perfect for craft supplies. My kiddos like to do crafts at the counter and its nice to have everything handy when the fancy strikes, but easy to clean up. I hope this inspires you to refinish a piece of furniture and make it your own.
Would you like to see more of the cart before it was finished? I used it in my Beauty and the Beast Bridal Shower I planned for my step-niece. You can see that here!