
Super Cute Bunny Bread
This bunny bread is so cute and fun to make! It’s perfect for gift giving or on your Easter table. Let me show you how! *This post may contain affiliate links, which means I may receive a small commission, at no cost to you, if you make a purchase through a link.*

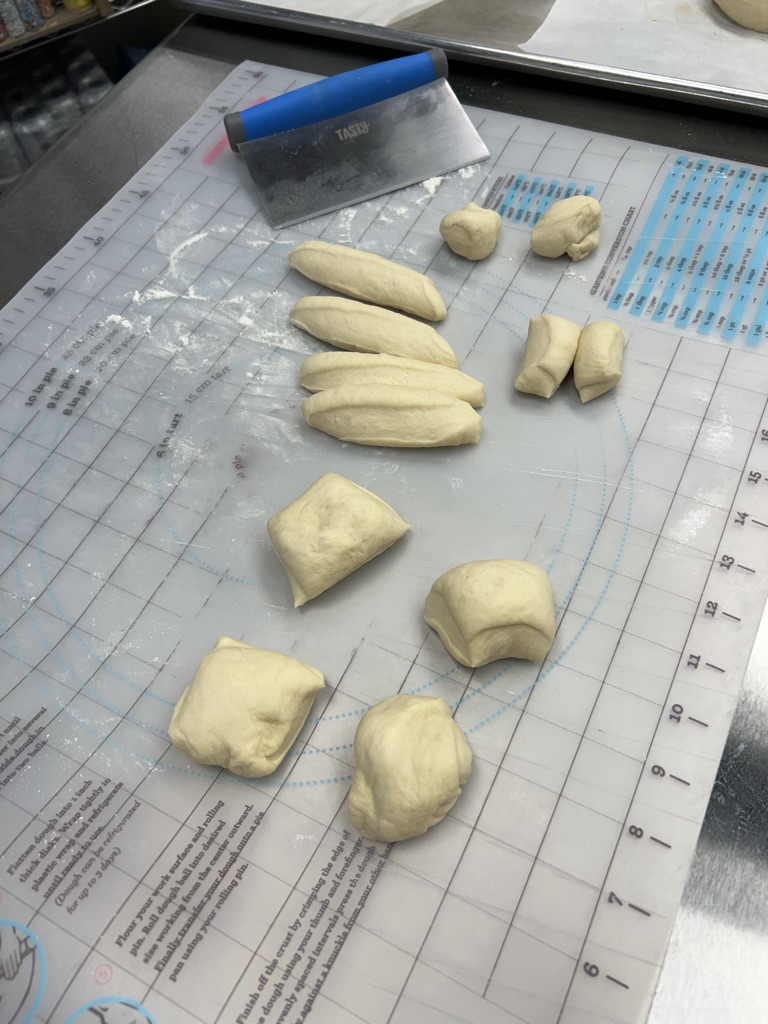
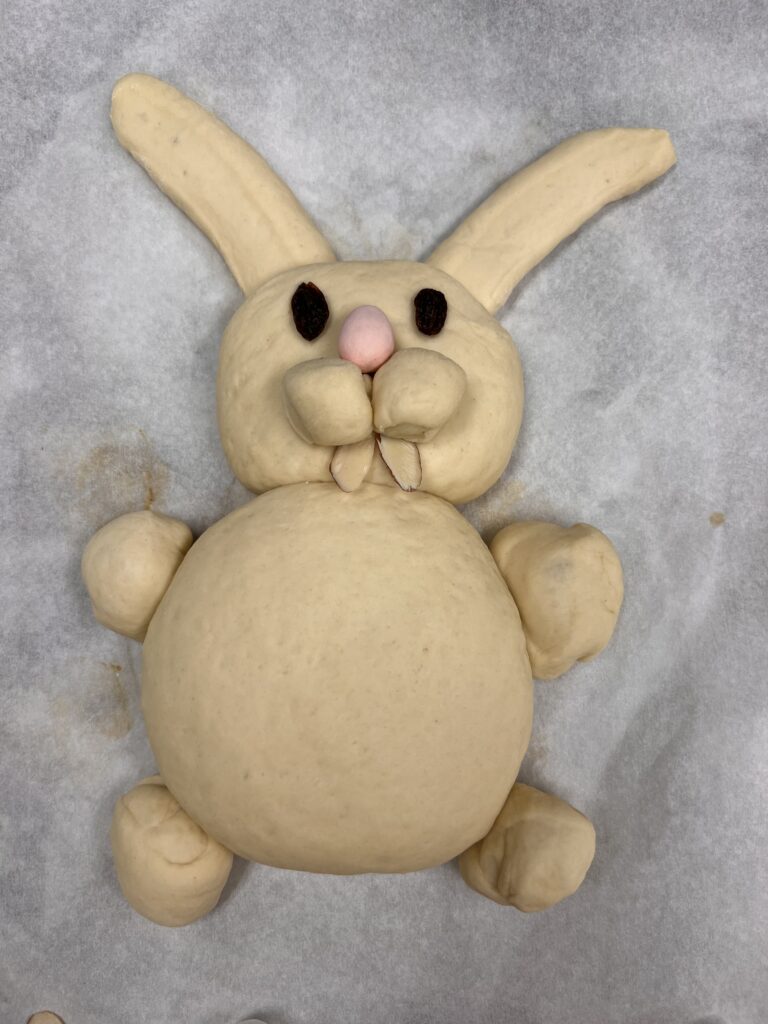
This bunny bread was so fun to make! It took a couple of tries (see my fail at the bottom!) I think the sliced almonds make the cutest teeth. I’ll show you step by step to make this at home. To start, you just make a basic bread dough recipe. Let it rise and punch it down. Place dough on a pastry mat and grab your dough cutter. I feel like it works the best for cutting this particular shape and is especially helpful with the ears. You can find one here. Divide dough into quarters. Two of the dough balls will be the bodies. Cut one of the quarters in half. These are the heads. Make a rectangle shape out of the fourth dough ball and using the dough cutter make an ear shape. Divide the last of the fourth dough into 12 pieces. These will be arms, legs and cheeks.
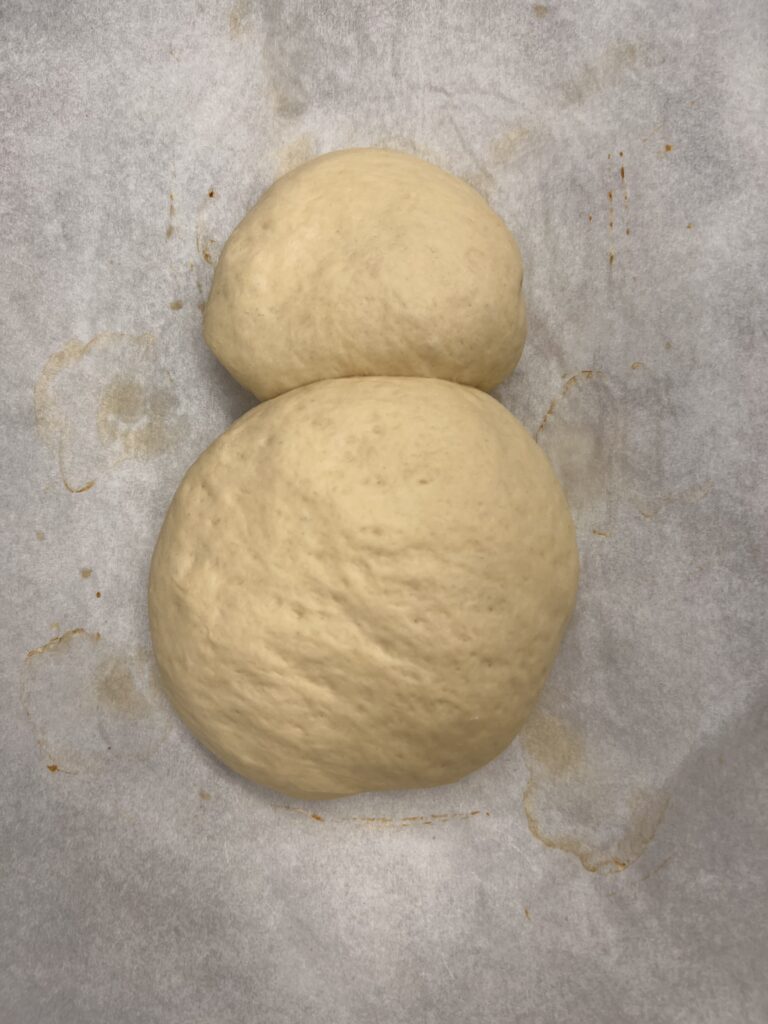
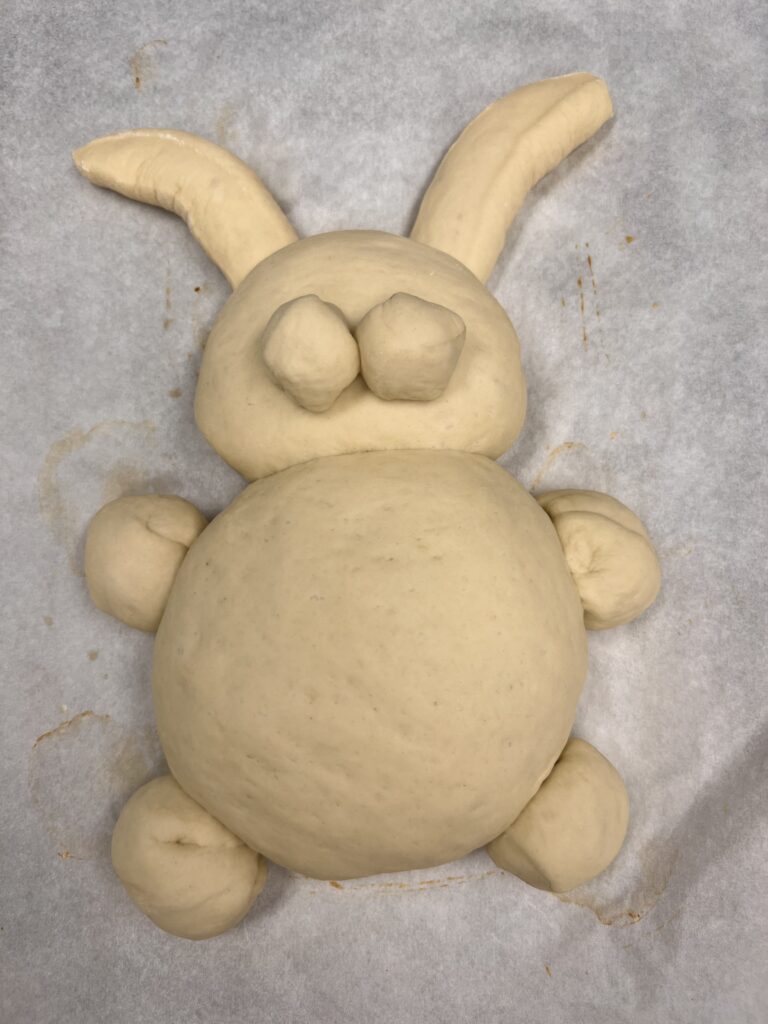
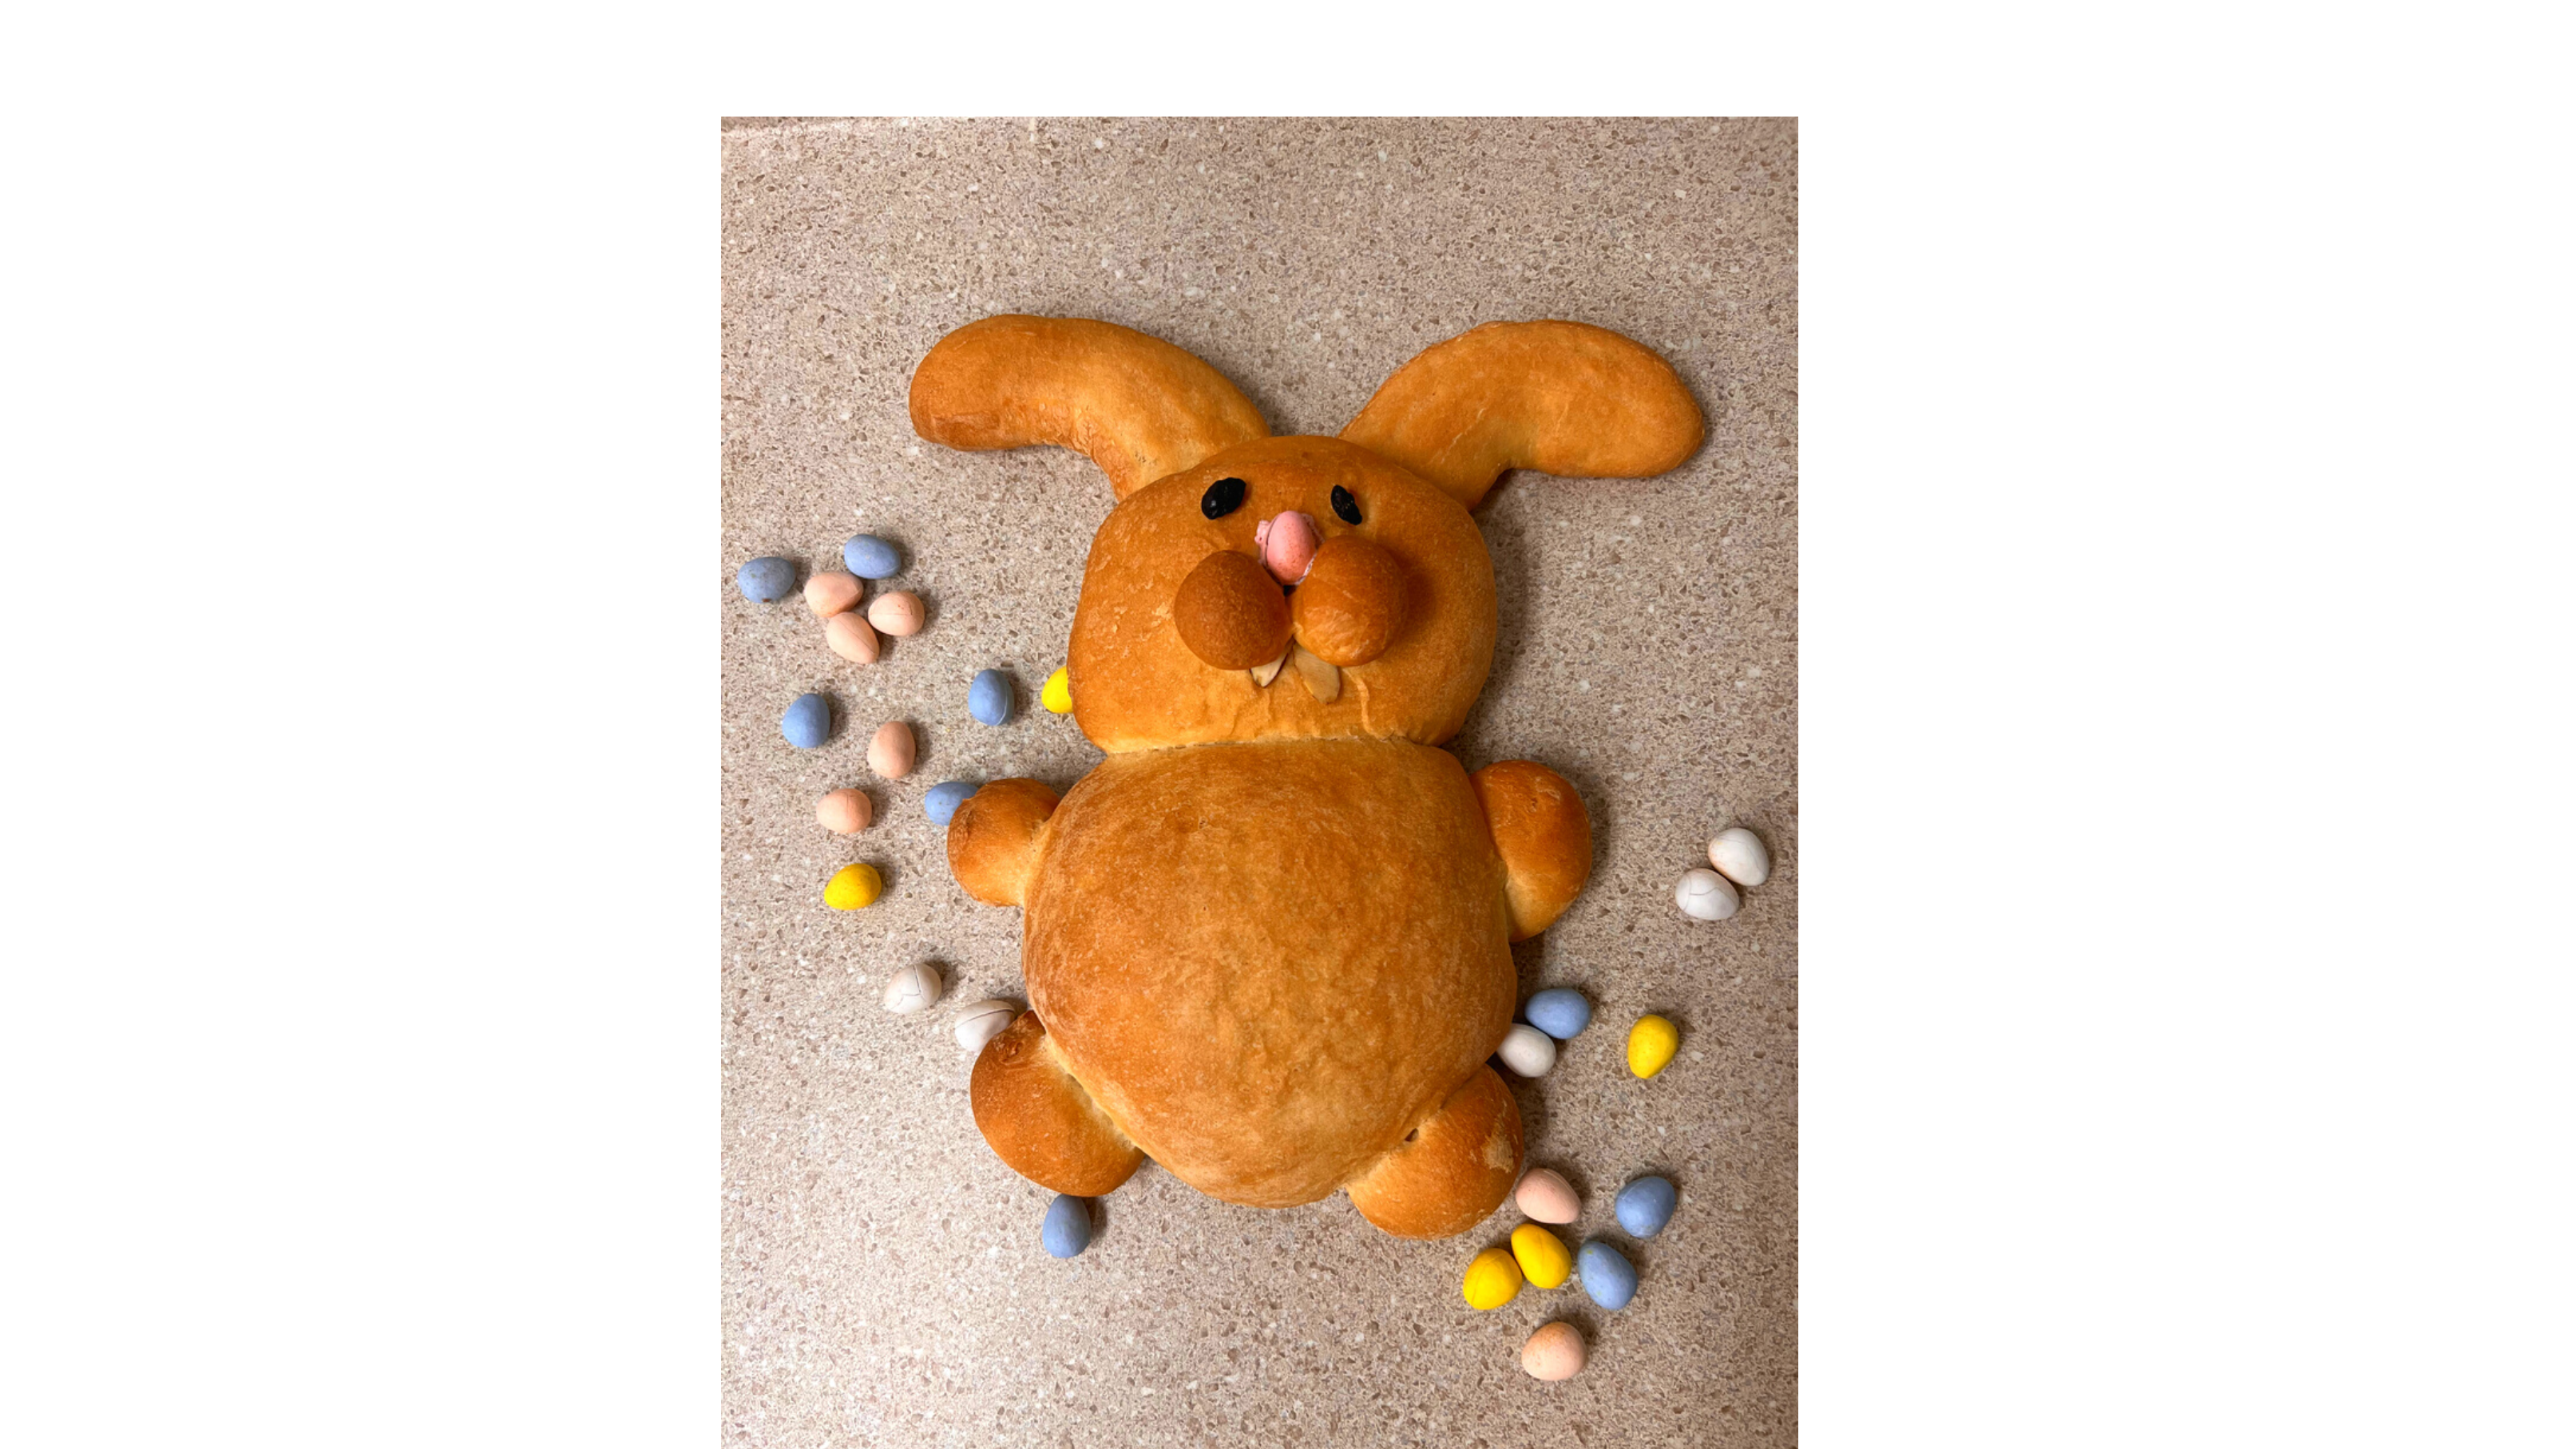
Make a round ball with the smaller head pieces and a round ball with the larger body pieces. Place side by side on parchment paper and pinch seems together. Roll arms, legs and cheeks into balls and place on body. Shape ears as desired and tuck under the head a little bit. Add raisins for eyes, pink candy coated egg for nose and sliced almonds for teeth. I tried baking the bread and then adding the eyes and nose but they won’t stick after the bread is baked. Cover with a tea towel and let rise until double.
Bake at 350 degrees for 30-45 min or until golden brown. Your family will be amazed!
Bunny Bread
Ingredients
- 1/2 cup milk
- 2 tsp Salt
- 3 Tbsp Sugar
- 3 Tbsp Butter
- 1 1/2 cups Water (105 degrees)
- 1 pkg yeast
- 6 1/2-7 cups Bread Flour
- Raisins for eyes
- Candy coated pink egg for the nose
- Sliced almonds for teeth
Directions
- Pour milk in pan and heat until small bubbles form. Turn off heat and take off burner. Add salt, sugar and butter. Cool until lukewarm. Dissolve yeast in warm water in mixing bowl. Add milk mixture to yeast mixture. Mix in 3 cups flour and mix until all the flour is incorporated. Add one cup of flour at a time letting flour mix all the way into the dough. Add as much flour as needed until a stiff dough forms. Let the mixer knead the dough for a few minutes. Cover with a tea towel and let rise until double, about one hour.
- After the dough has risen, punch down and place on a pastry mat. Using a dough cutter, cut dough into four pieces. Two of the pieces will be bodies. Cut one of the fourths into half. These are the heads. With the remaining ball, push it into a rectangle. Using your dough cutter, cut four long ears. Cut the remaining dough into twelve pieces. These are arms, legs and cheeks.
- Make a round ball with the smaller head pieces and a round ball with the larger body pieces. Place side by side on parchment paper and pinch seems together. Roll arms, legs and cheeks into balls and place on body. Shape ears as desired and tuck under the head a little bit. Add raisins for eyes, pink candy coated egg for nose and sliced almonds for teeth. Cover with a towel and let rise until double, about an hour.
- After it has risen, bake at 350 for 30-45 min until golden brown. Let cool completely and then amaze your friends and family!
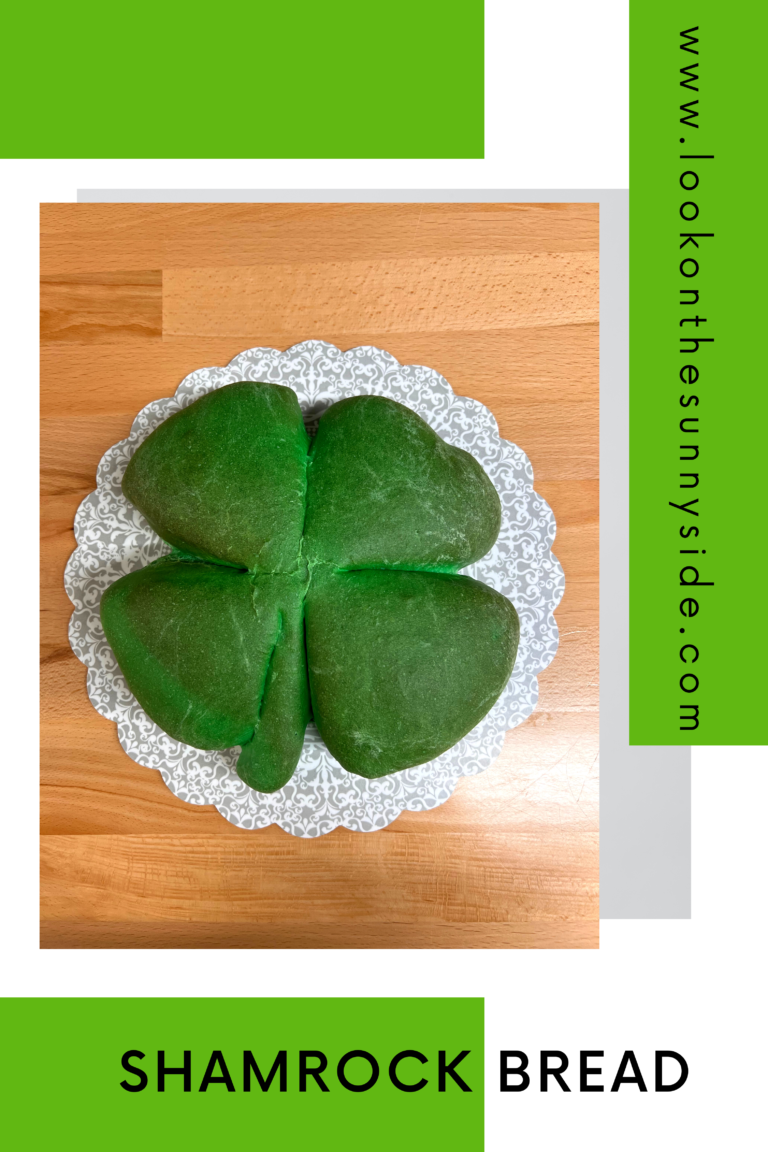
If you enjoyed this post, you might enjoy shamrock bread! You can find that post here.
Here is my first attempt:
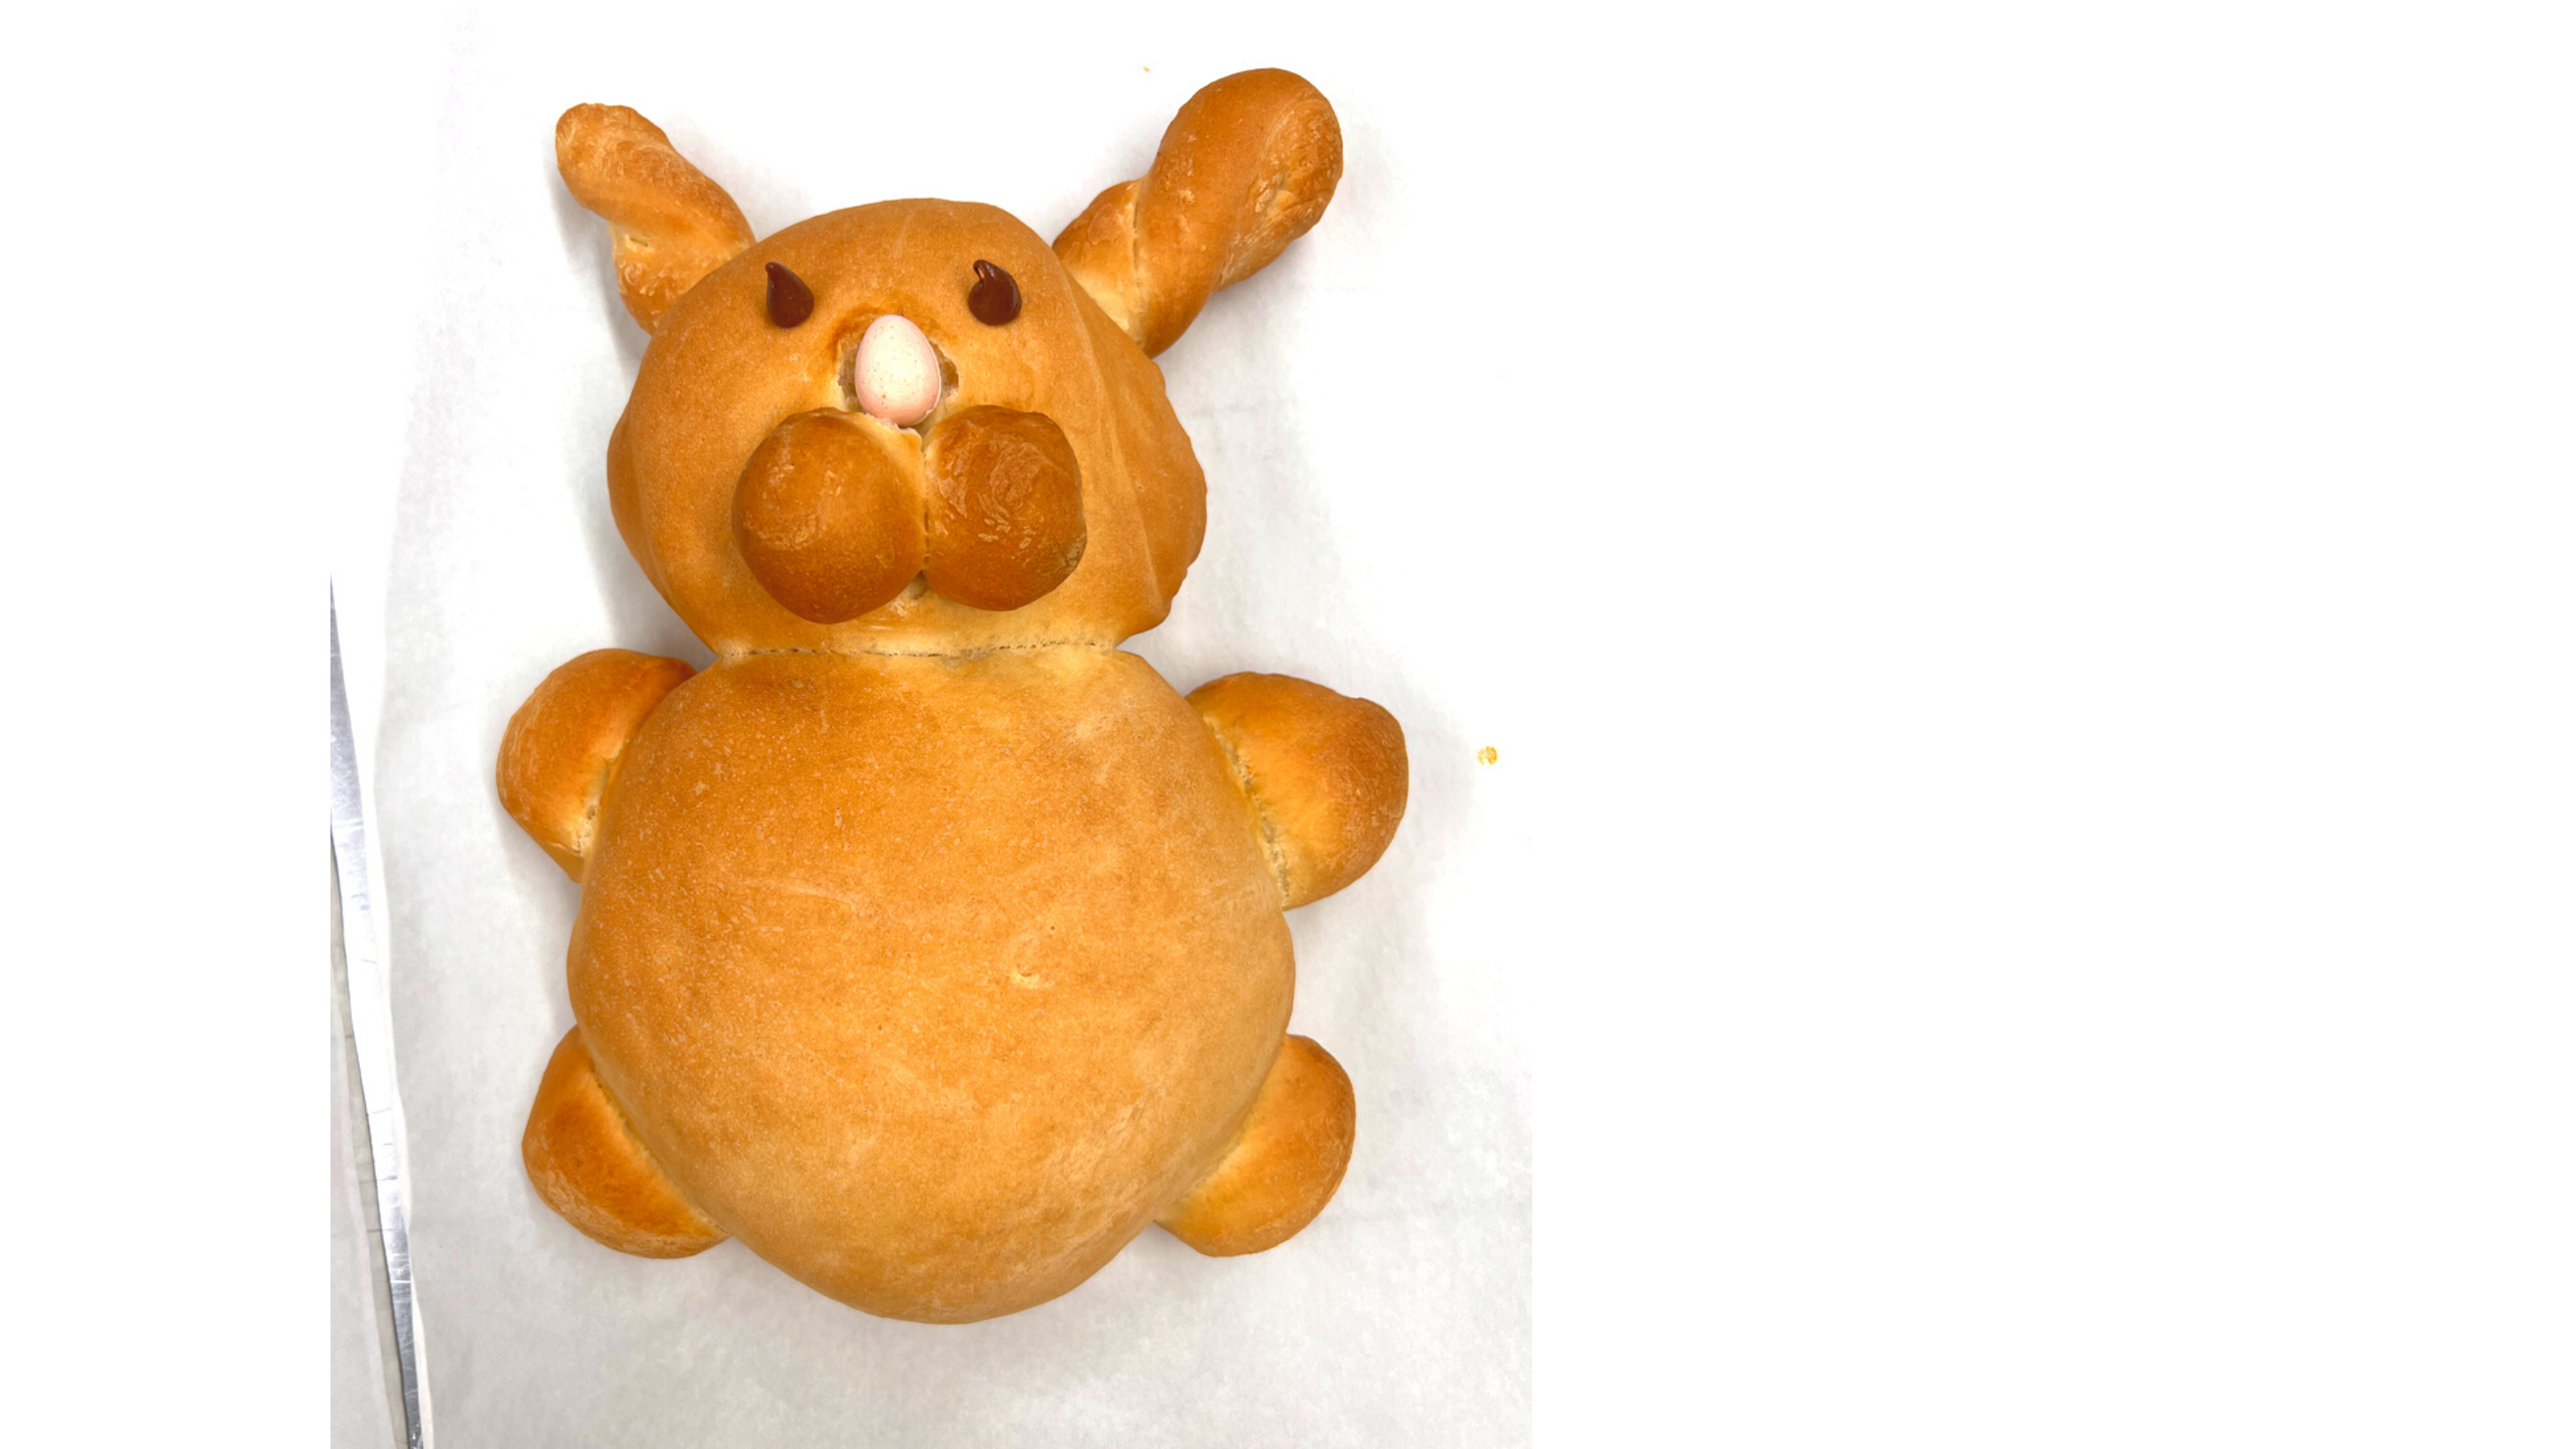
The ears weren’t quite right! And I used chocolate chips for the eyes but they looked weird and the chocolate wanted to smear all over.


One Comment
Comments are closed.