Greenhouse Made with Reclaimed Wooden Windows
Make your own beautiful greenhouse with reclaimed wooden windows. It’s cute and functional! I’ll show you how!

Ok, I have a confession to make. I love/hoard old wooden windows. I just love how they aren’t perfect and usually have a couple coats of paint on them and you can see the different colors when the layers peel. I like to imagine the people who lovingly painted that window that color. I bought and saved windows for a couple of years to build my greenhouse. I was lucky enough to find some that were the same size for the front and back of the greenhouse. Let me show you how I made my greenhouse using reclaimed wooden windows. I have a neighbor that knows how to build houses and he helped me every step of the way. Bless you, Gary!
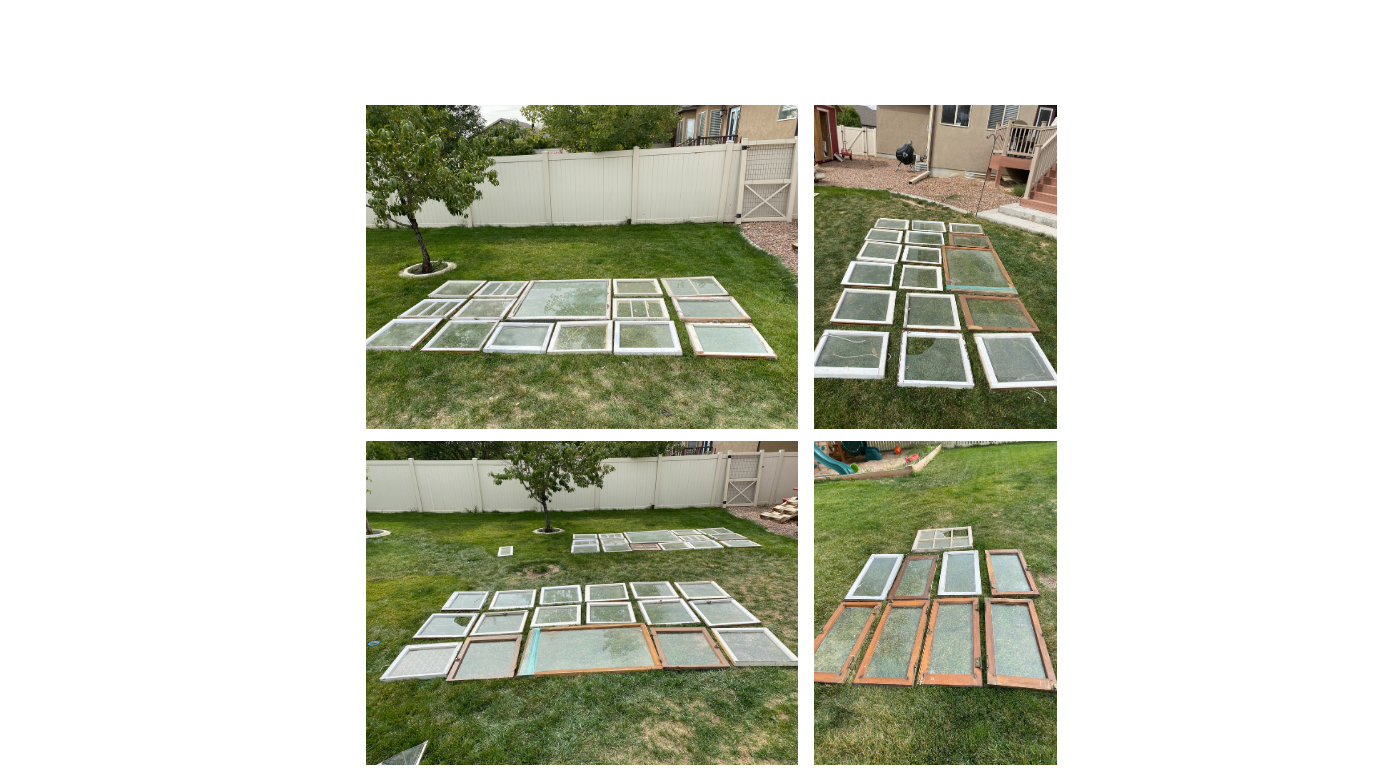
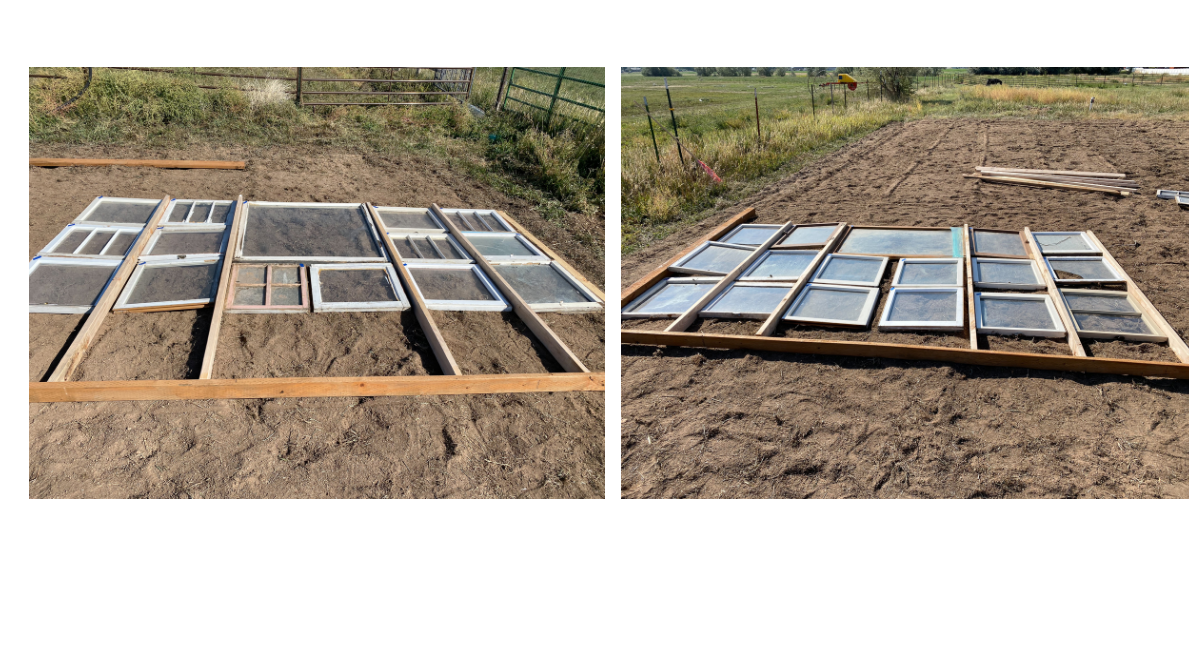
First, we laid all of the windows out on the lawn and fit each window so the sides were similar sizes and the front and back were similar sizes. Each side wasn’t exactly the same size but the plan was to come in with siding and fill in the gaps. I knew I wanted my greenhouse to be painted white when I was finished so I was hoping the siding would just blend in with the windows. I also knew I wanted square windows in the peaks of the front and back. I had two big windows and used one on each side. I was careful to use the biggest windows on what would become the south facing wall so I could get the most sun in.
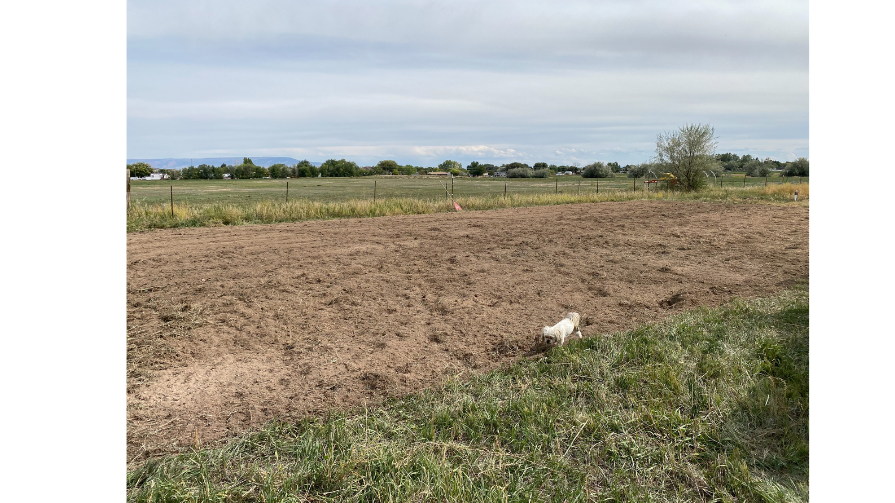
I had someone come and plow a spot in my field and then I leveled it. It’s ready to go.
Putting Up the Walls

We used pressure treated 2x4x16 boards for the bottom board that runs the length of the two walls and 2x4x8 boards for the vertical boards. I didn’t have the windows go all the way down because I planned on putting a counter in and I didn’t need sun to come in past the counter.
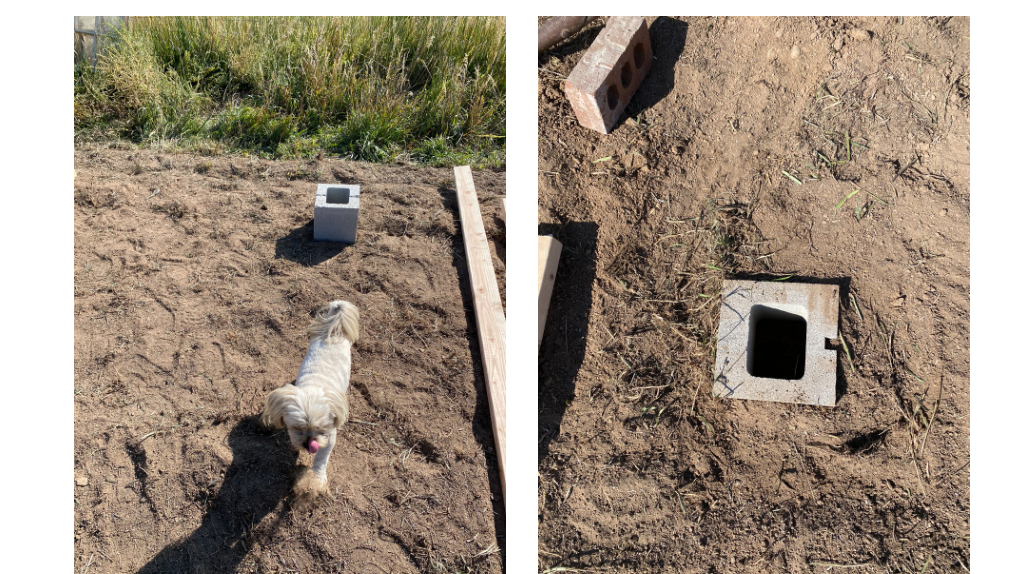
Gary had the best idea; we buried these cement blocks in the ground and then put the pressure treated 4×4’s into them. We were then able to pour cement around the 4×4’s and level them. Worked like a charm.
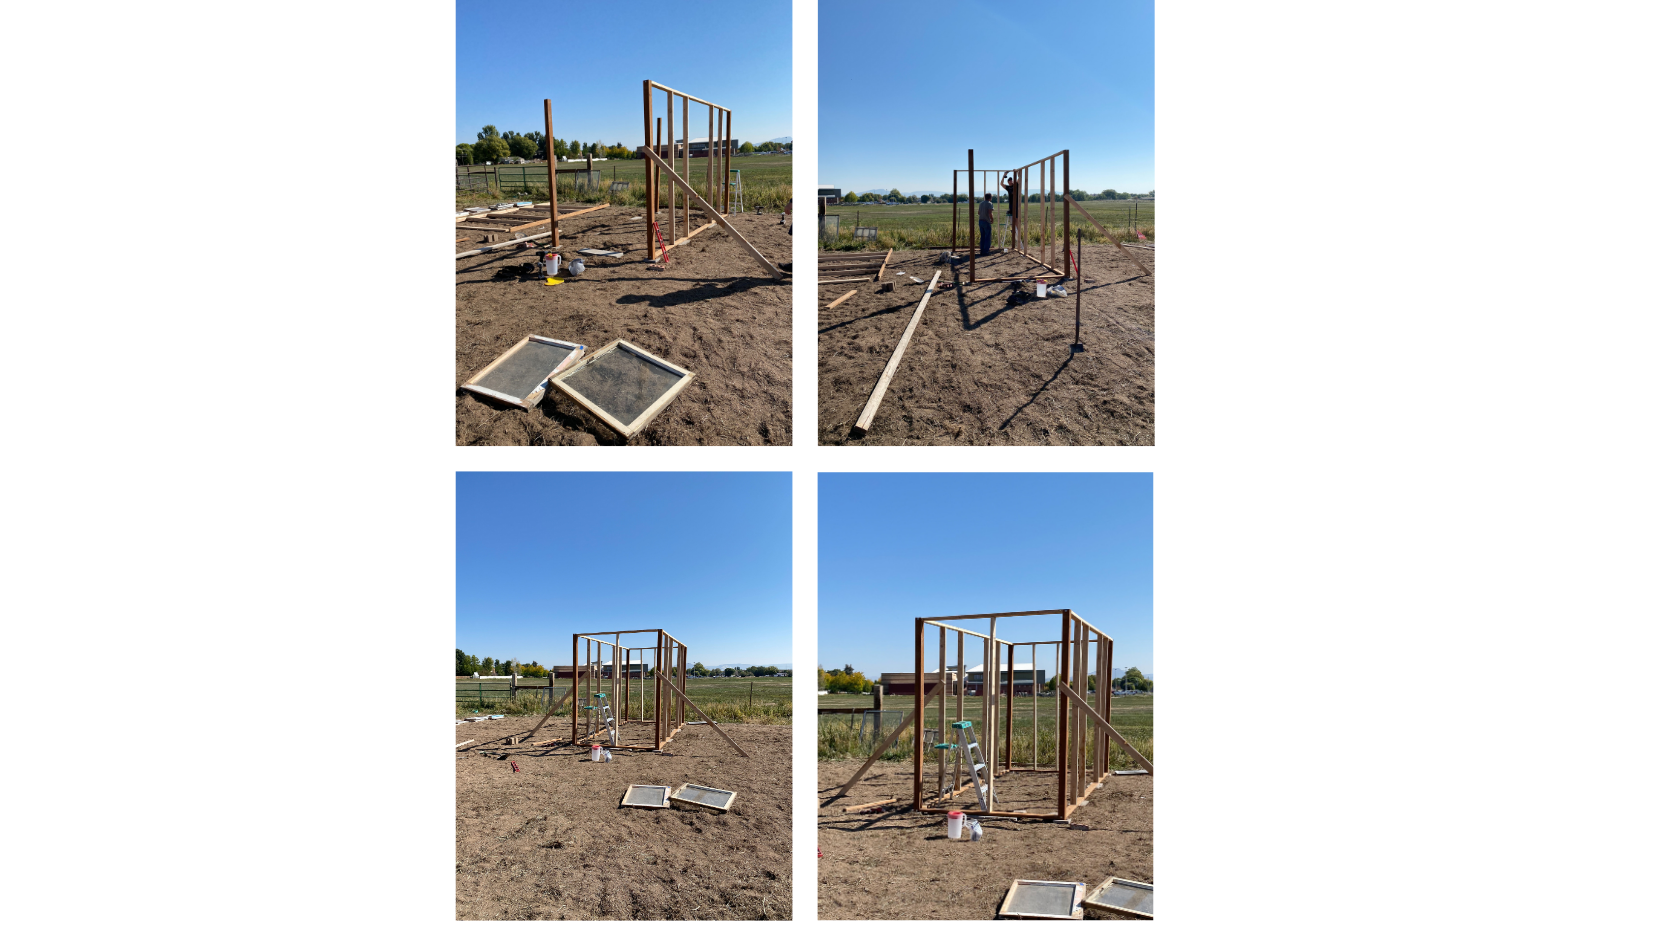
After the cement dried, we started tying in the 2×4’s to the four poles in the corners. It took some trial and error getting the boards in the right places. We would hold up the windows and make sure they fit and move a board as needed. It was a bit tedious but necessary.
Time for Trusses
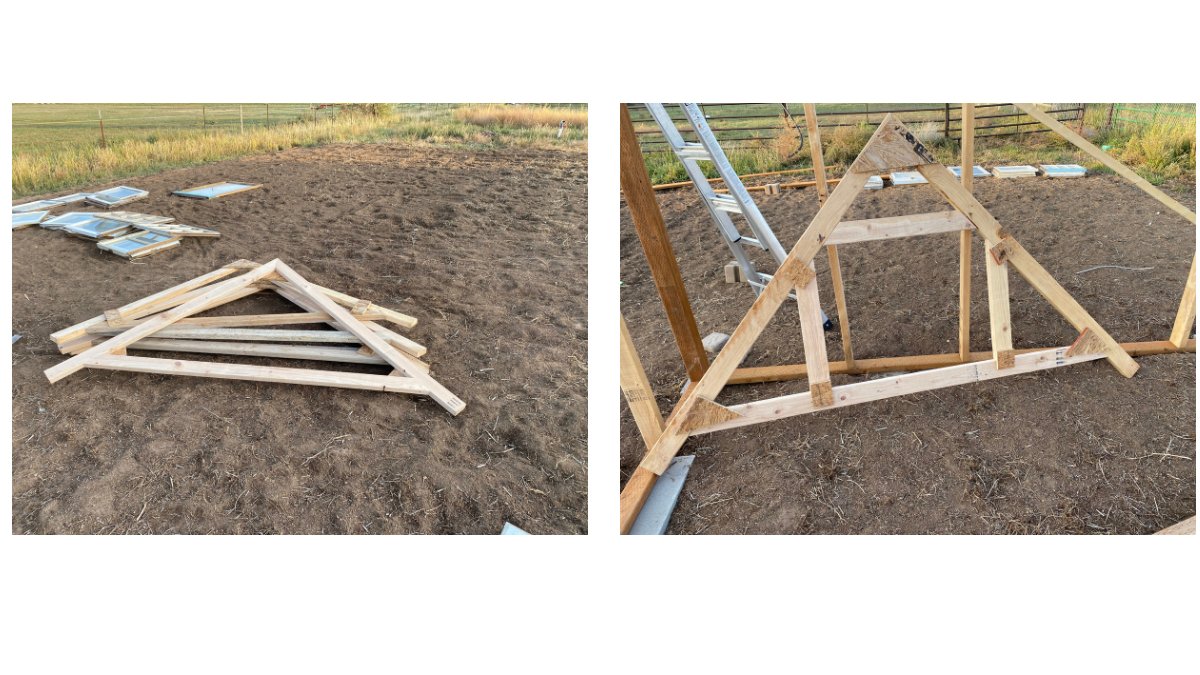
For the trusses, we measured how wide we wanted them plus a bit of overhang and then measured how tall they would have to be to have the windows in the end. We made one, made sure it fit and then used it as a pattern for the rest of them. We made enough to have one every two feet so the corrugated plastic would have something to screw in to.
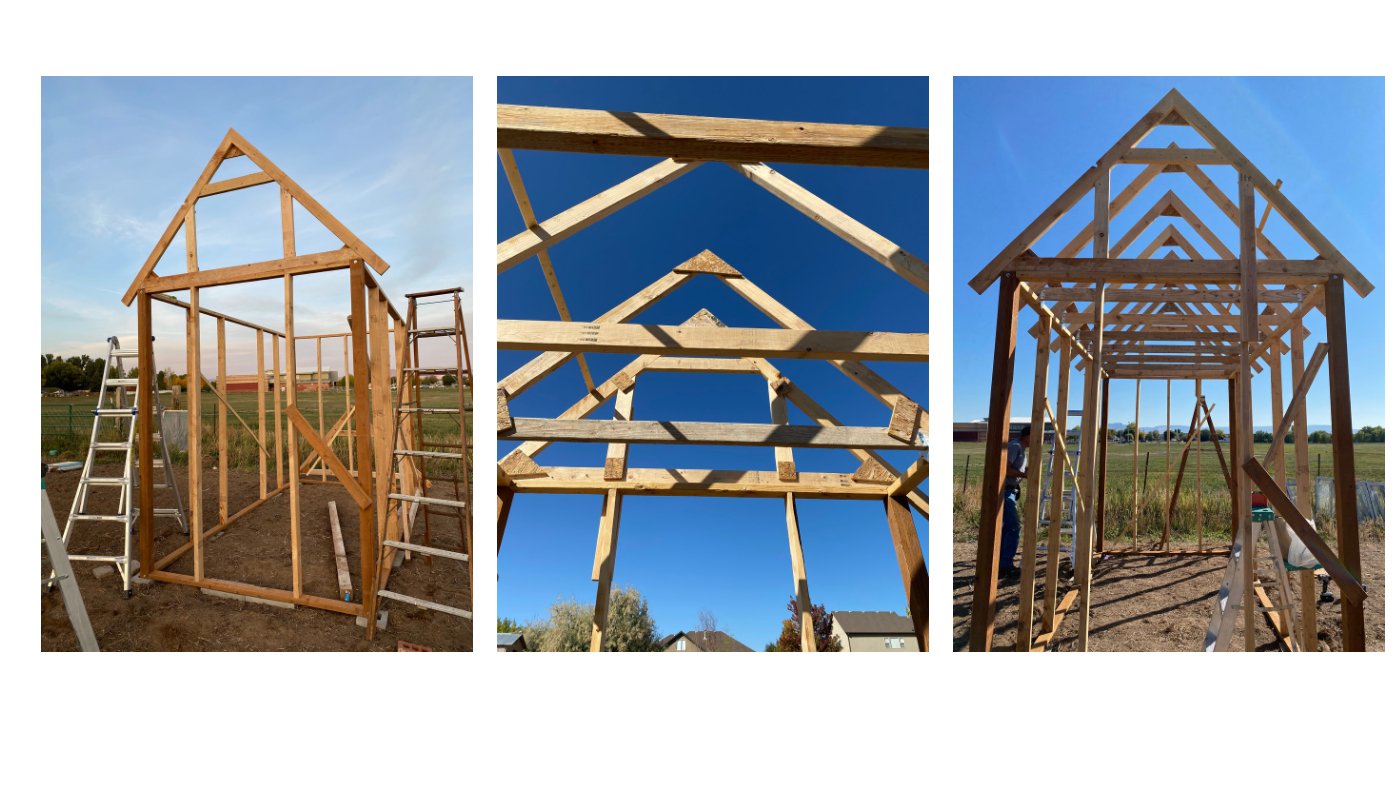
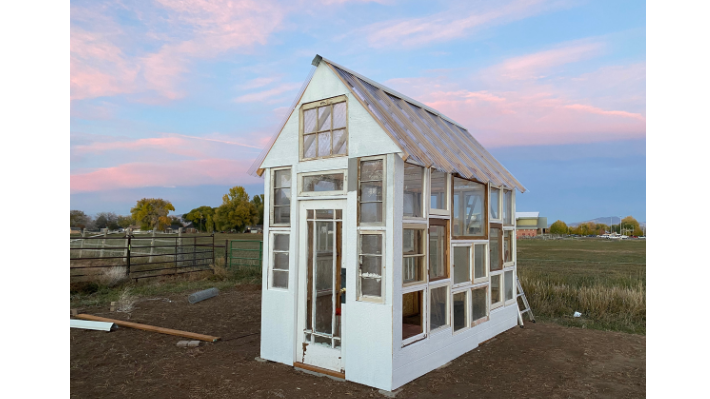
We used rafter ties to hook in the trusses. They looked like they were just floating. It was so cool!
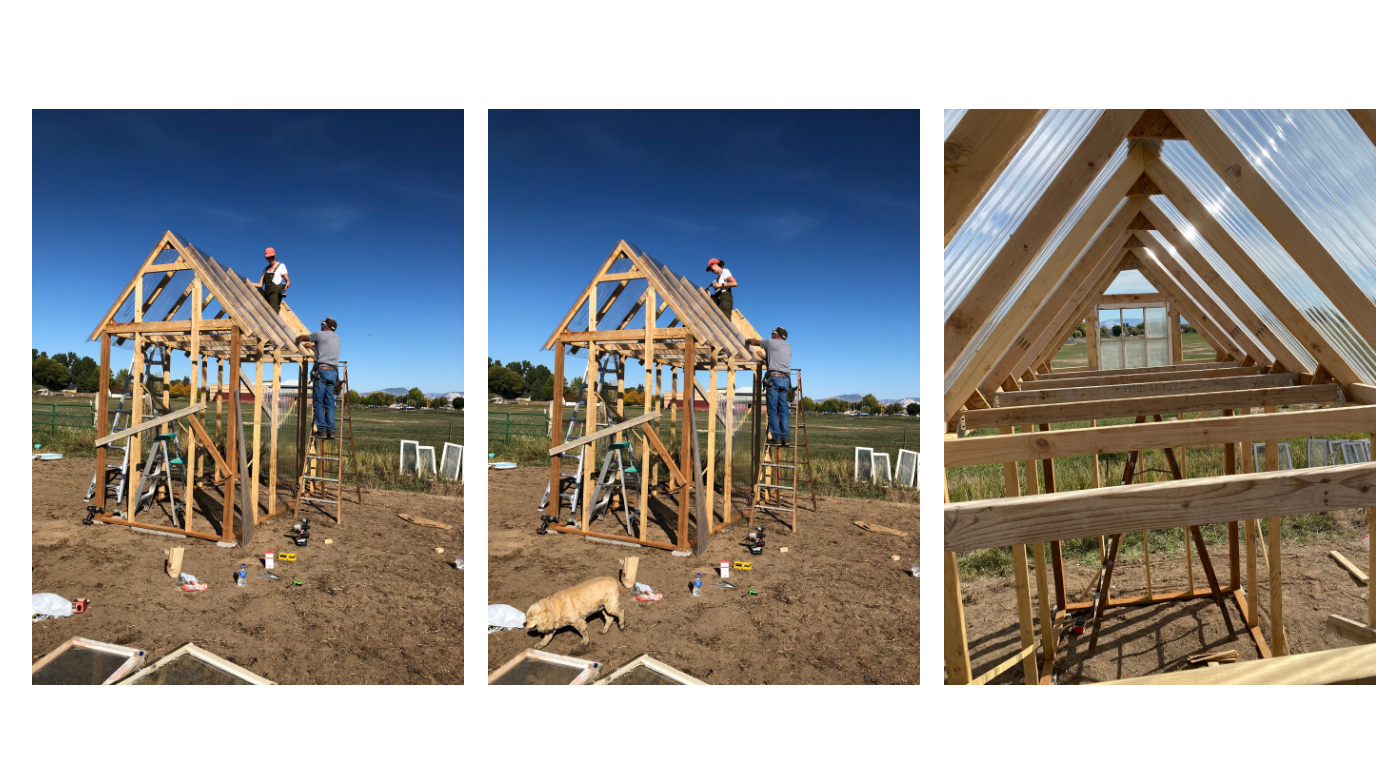
Using roofing screws, we attached the clear panels. I love how the window in the peak on the front side lined up with the door.
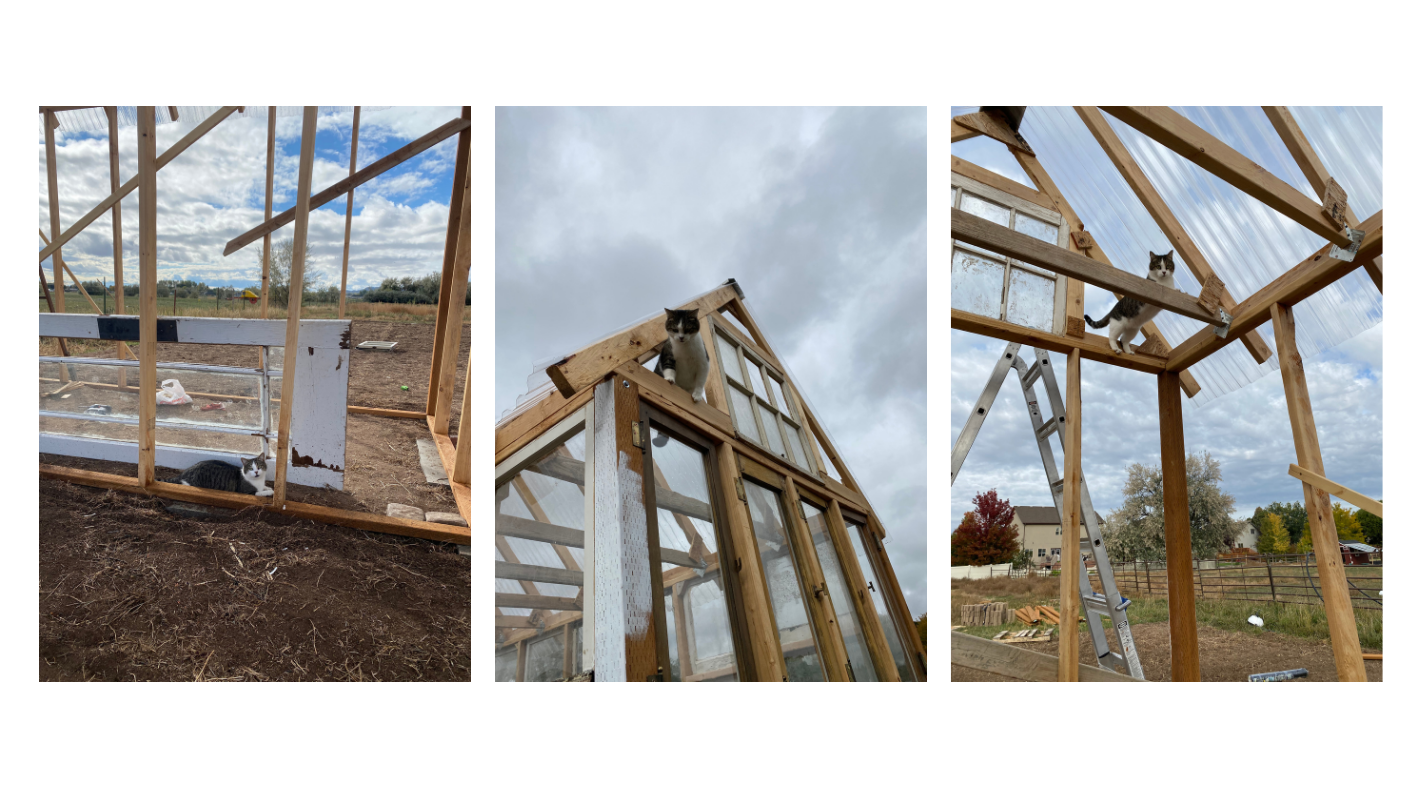
Izzie the cat was so funny and curious. She loved when we left the ladder out so she could climb up and jump from truss to truss.
Adding Windows
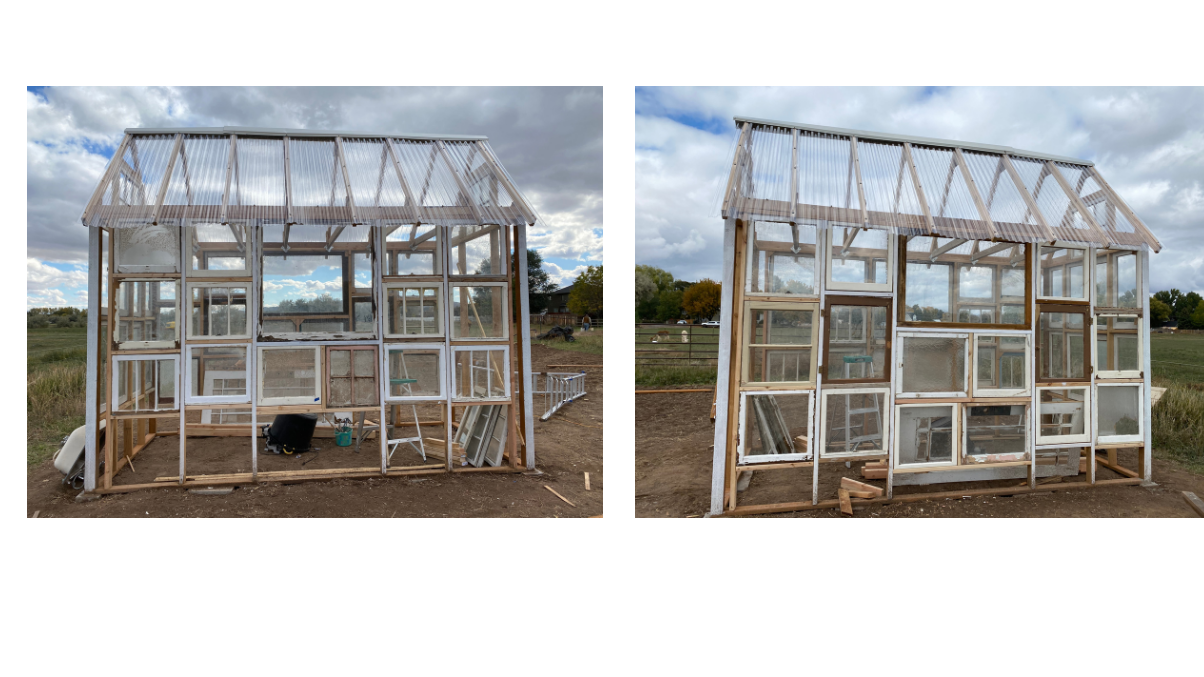

We then added in the windows one at a time like we had them laid out. I did mark each window with some tape in case they got mixed up. We put 2×4’s in below each window. It was nice when we could screw into the boards through the side but sometimes we just had to toenail them in. I got really good at using the driver. The door was a little tricky. It fell and broke a bit so Gary had to do some repairs. It was not square so we had to shimmy it one way or another to get it to close properly.
After the windows were installed, we starting adding siding bits here and there to cover the holes. My greenhouse is coming together!
On to the Floor
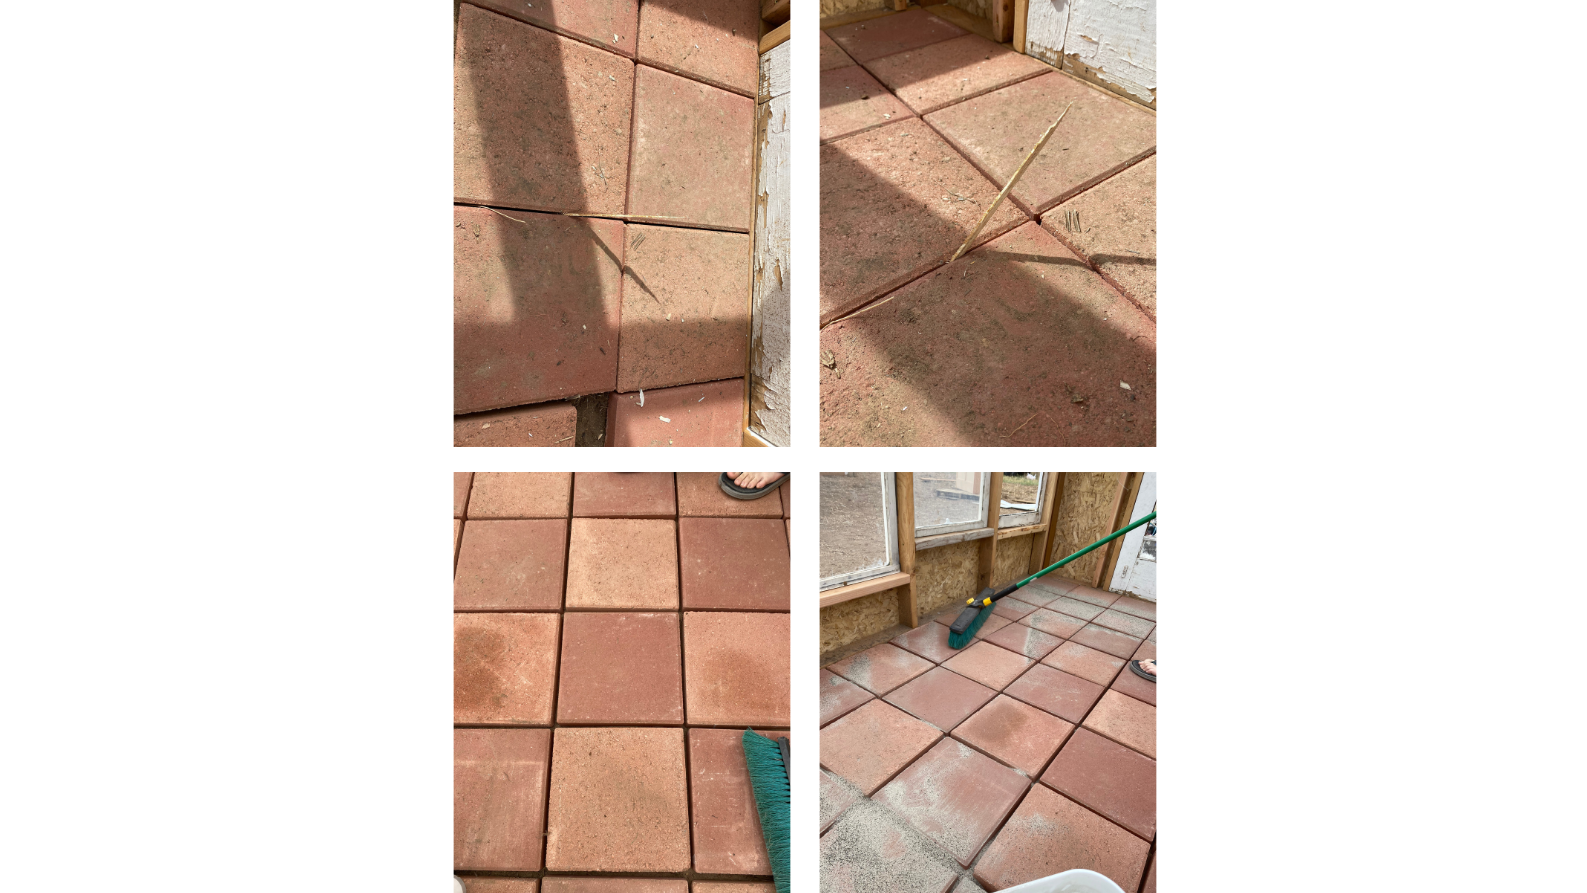
For the flooring I used brick pavers. They must’ve been from two different batches because they were two different colors. So I just made sure I bought enough of each to do a checkerboard pattern, which I love. I used a stick to make sure they were the same thickness apart. I did have to change the thickness in the middle of the project so that I didn’t have to cut any bricks. Thank goodness it worked out to have them fill the space and not have to cut any! I used paving sand in between each of them. It was so cool; you brush it in the cracks and then add water. It hardens and keeps the bricks in place.
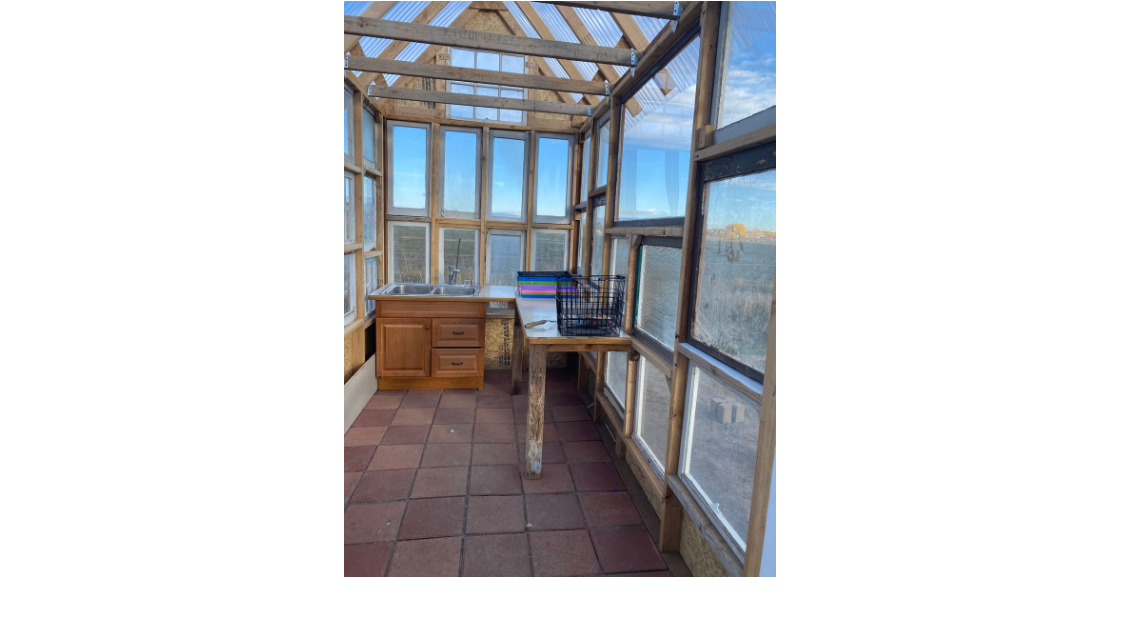
With the floor in, we could then add counter tops. My parents had replaced their countertops and gave me the old ones. I found this bathroom vanity on clearance at the hardware store that fit perfectly with the kitchen sink that was already in the countertop. I put a stopper in the bottom of the sink and use it to put soil in the planters before planting my seeds.
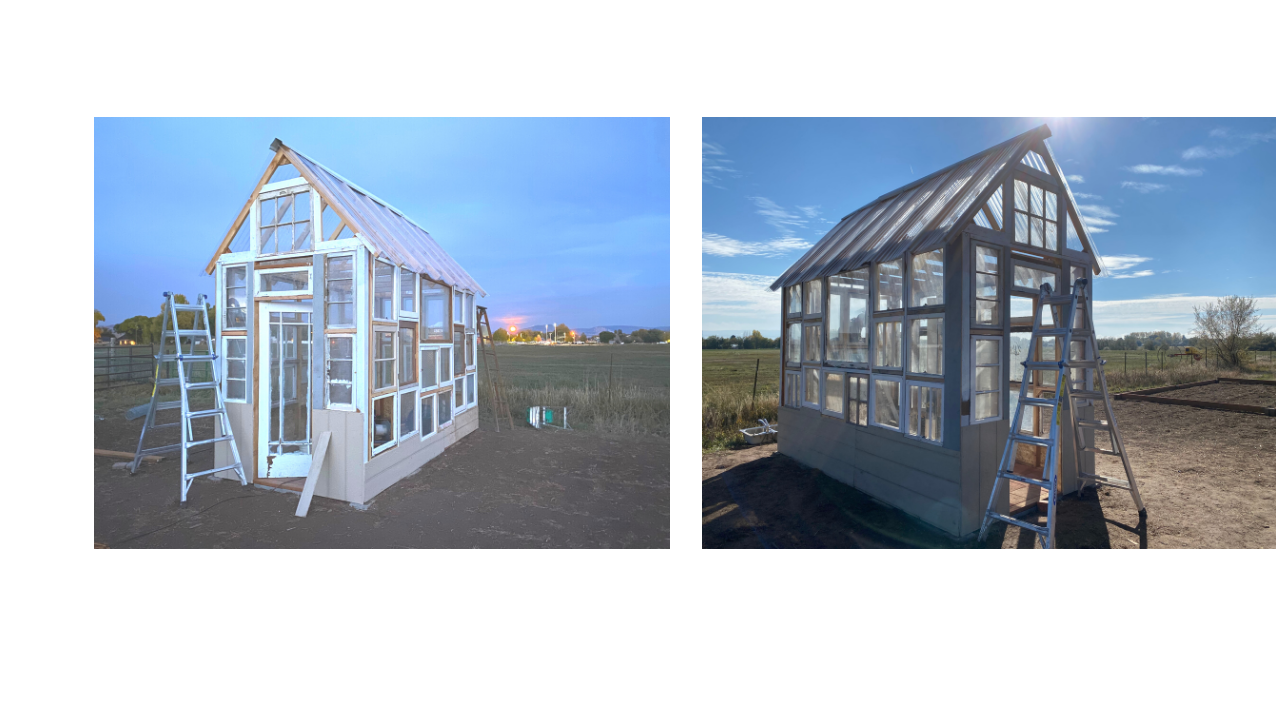
And Finally, Paint
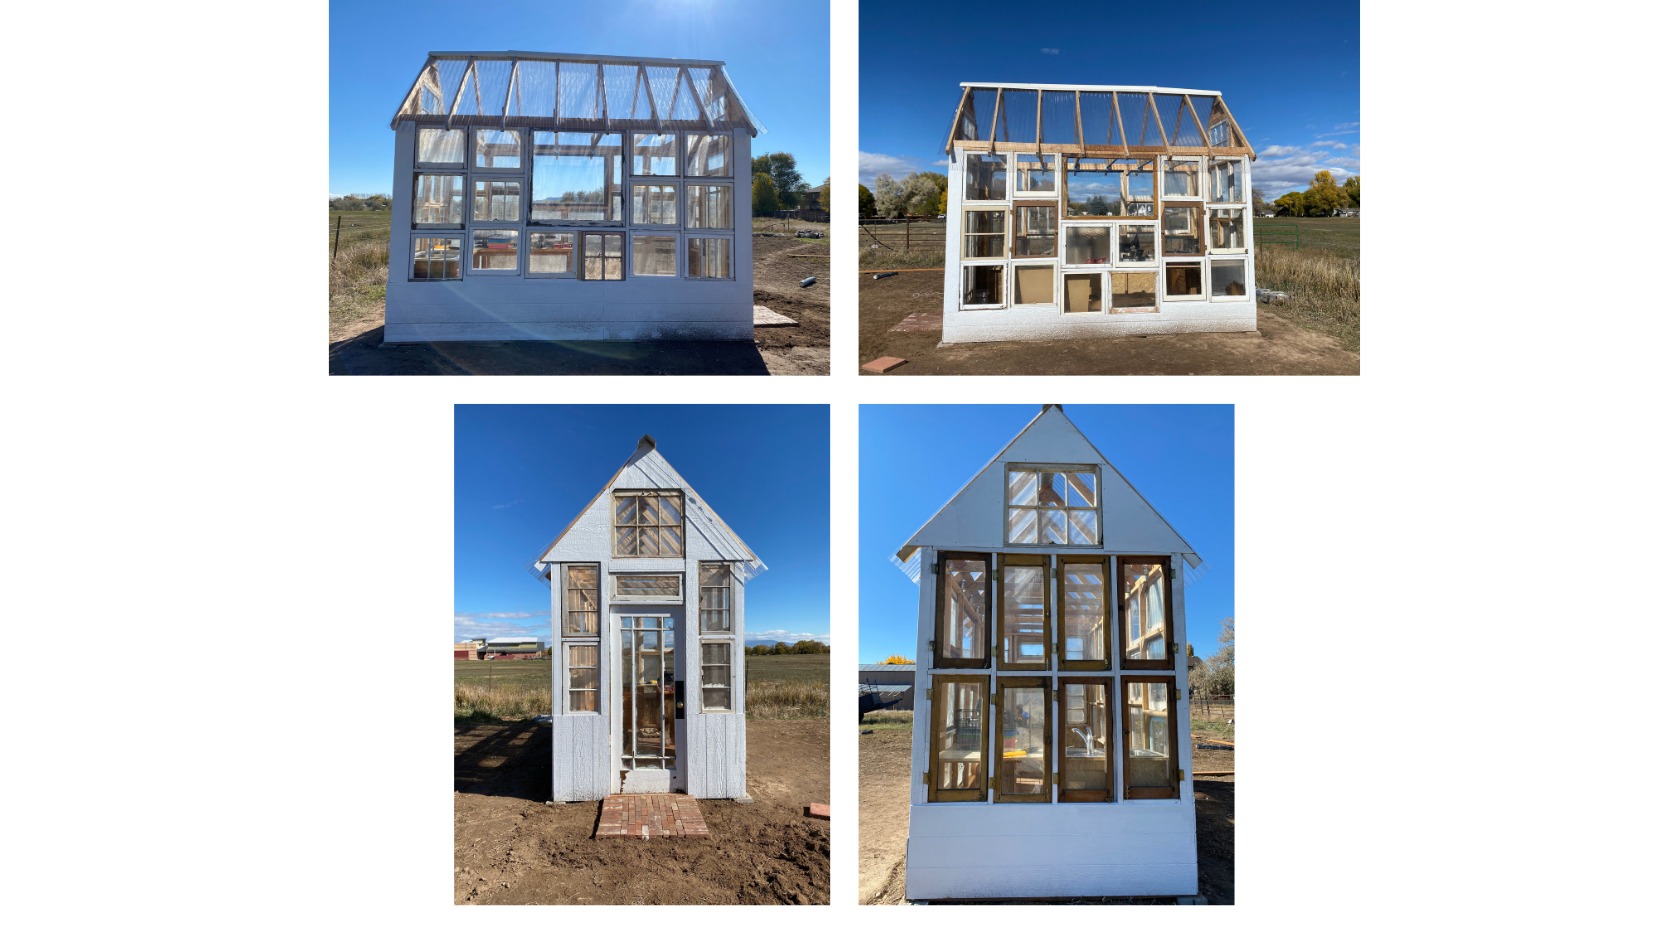
I painted all the siding pieces white, leaving the windows their original color. The back wall is super fun because all of the windows are the same size and they all open. The funny part is that they don’t have all of the same closing hardware. I love old windows!
Finishing Touches
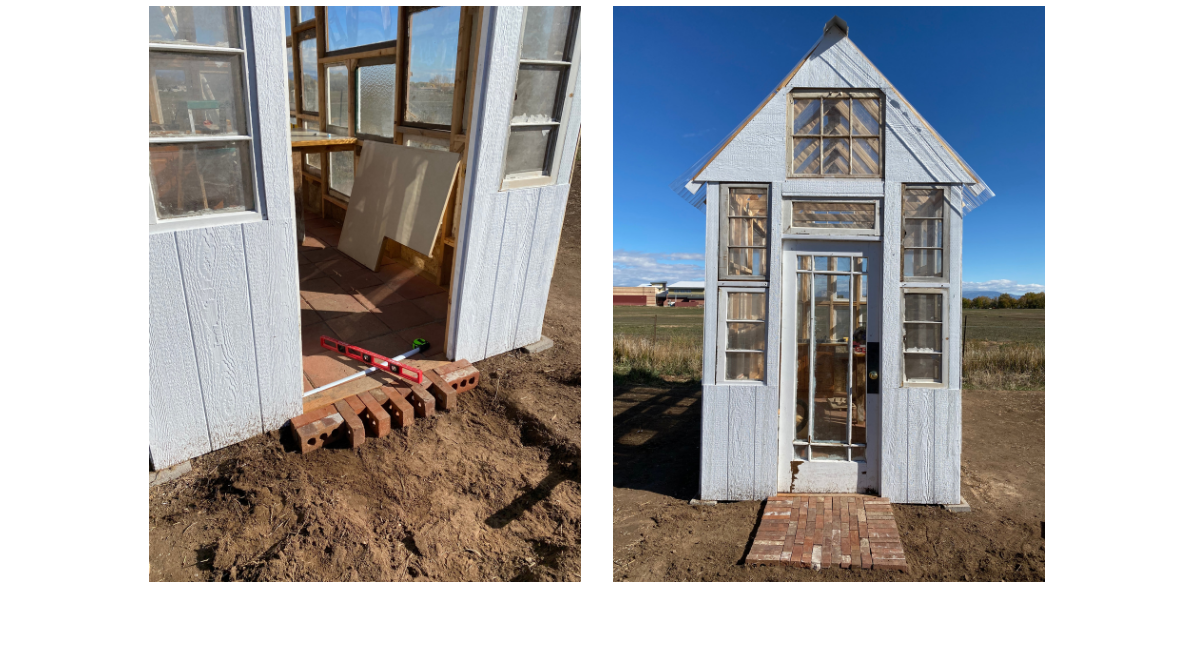
Someone was giving away a pile of bricks on Facebook that I had hoped would be enough for the floor. But it turned out to just be enough for a little porch.
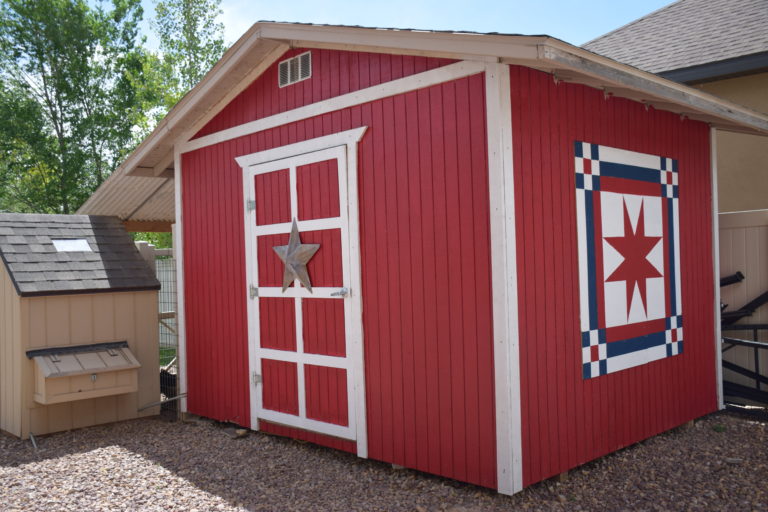
If you enjoyed this post about building a greenhouse, you might enjoy my post about turning a shed into a chicken coop. You can find that post here. Happy building!