
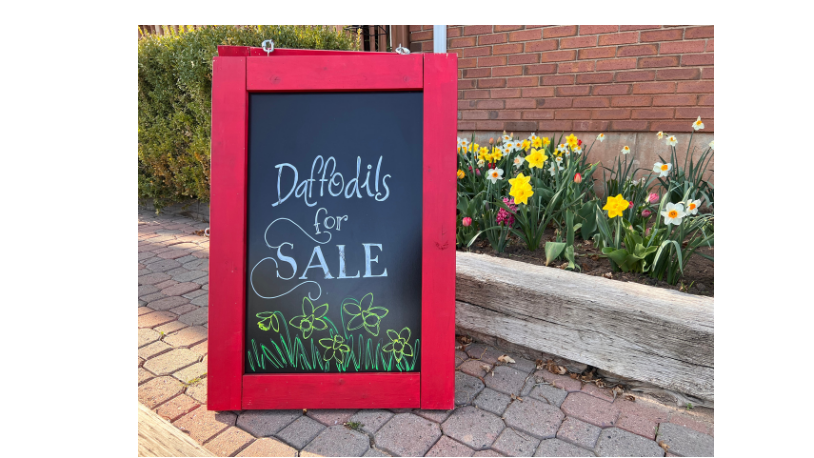
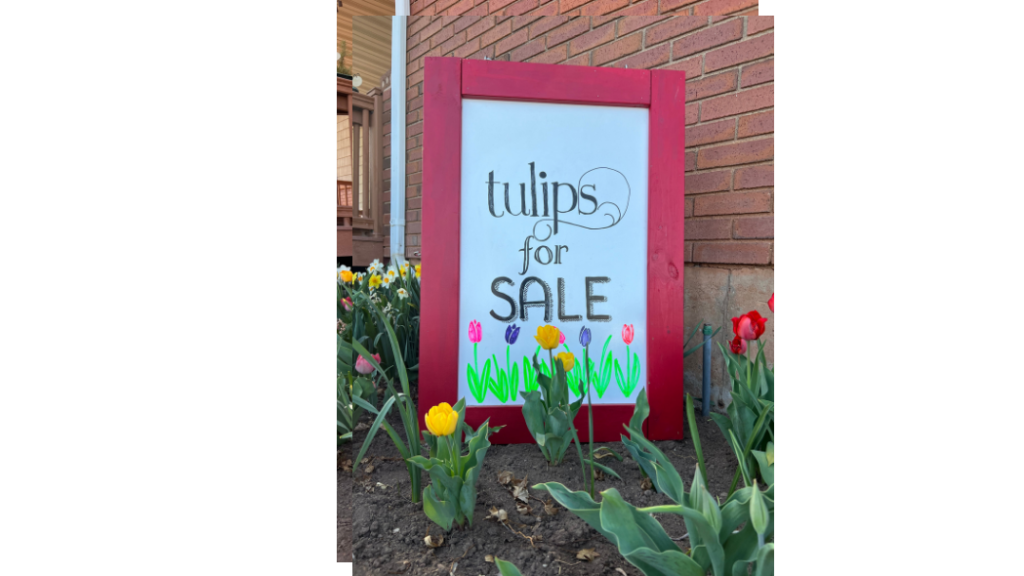
DIY Chalkboard/Dry Erase Display Board
This display board is the perfect DIY project because not only does it save you money by making it yourself, you can totally customize it to fit your needs. It folds up for easy storage and can be flipped to either a chalkboard or a dry erase board.

I had wanted a display board (also known as a sandwich board) for quite awhile but couldn’t quite find the perfect one. Plus, they are so big they are very expensive to ship. Then one day, I was walking through our local big box hardware store and saw this board that was chalkboard on one side and dry erase on the other. That got the wheels in my braining turning; how fun would it be to have my display board be a chalkboard or dry erase!?! It’s perfect!
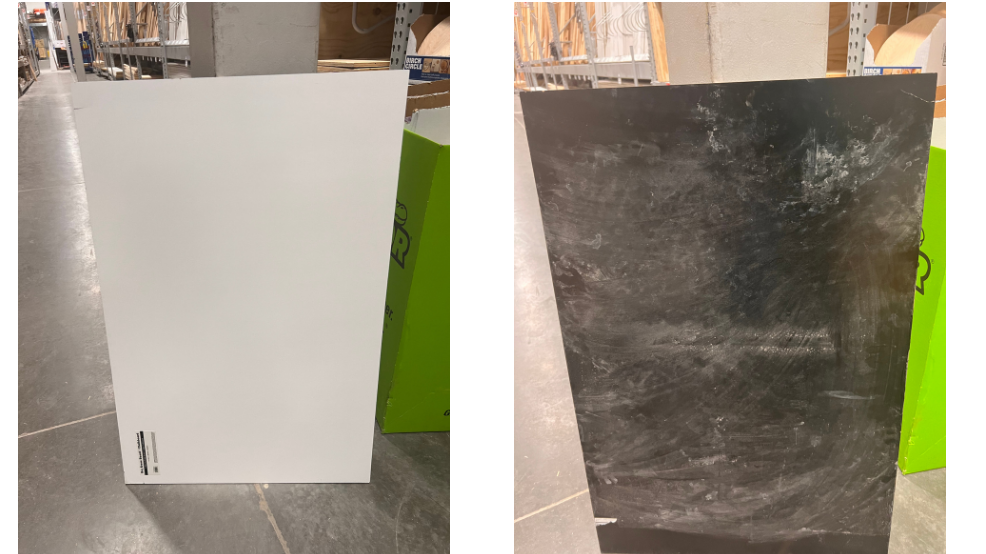
The board I bought was 2×3. It’s a great size because it’s tall enough not to need legs. Makes it easier.
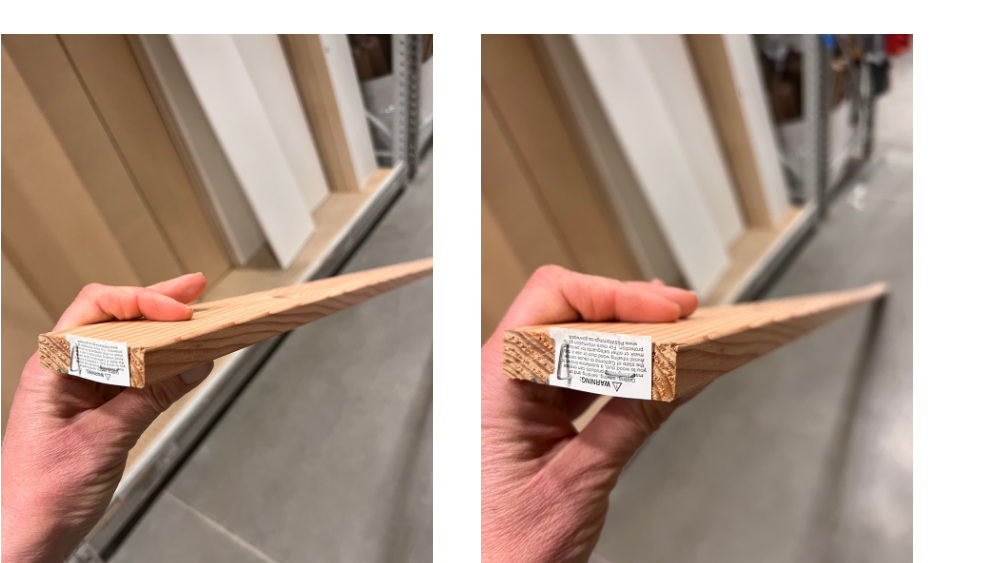
I bought some finished 1×4’s. I wanted a rounded edge on my boards to make it look a little more finished. Since the display board was two sided, I had to buy enough edge boards to go on both sides. I loaded up my boards and went home.
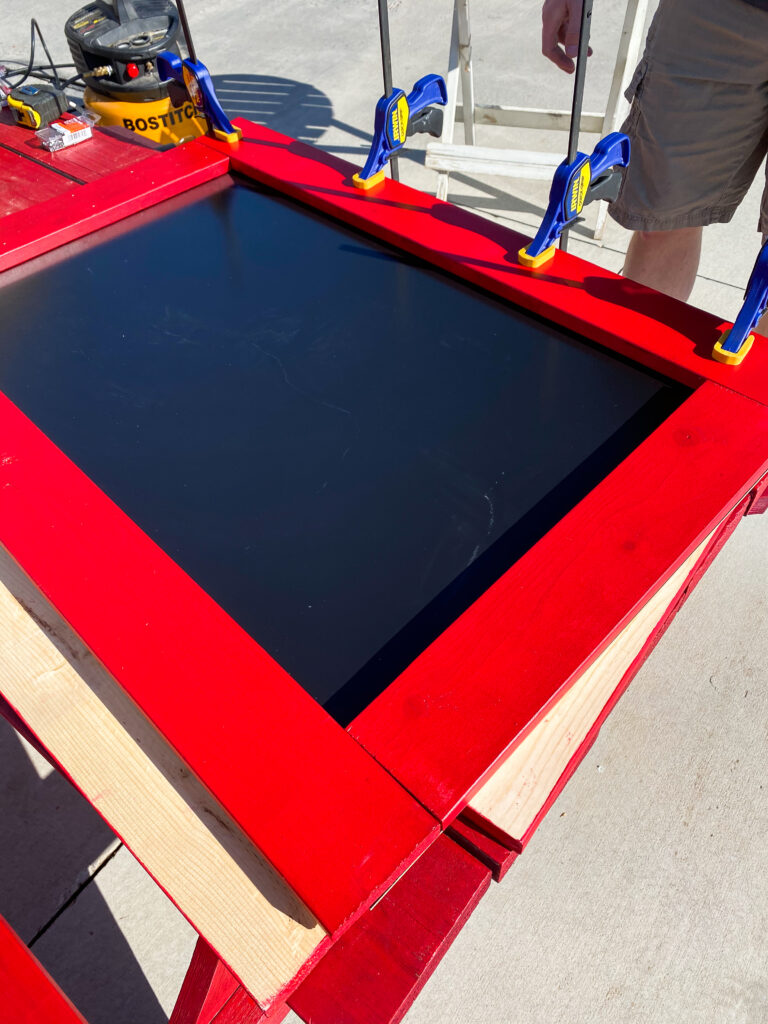
I found it was a easier to measure and cut the boards and then paint them before installing them. I used an outdoor paint so that if it got a little wet accidentally, it wouldn’t hurt it. Of course I used red!
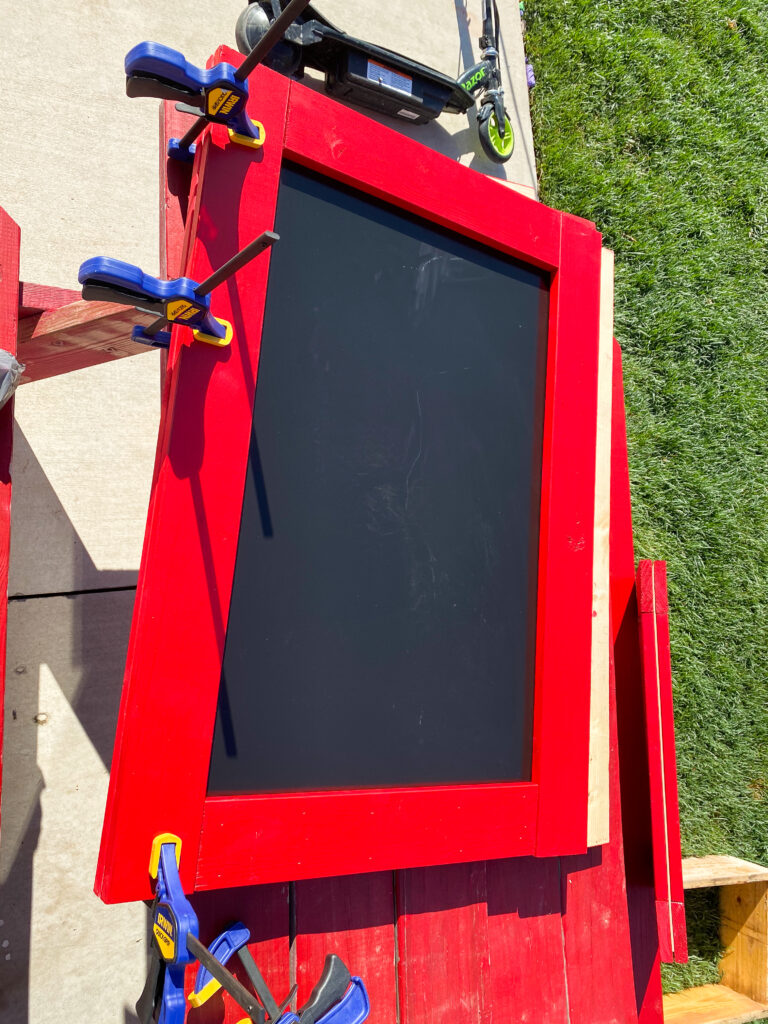
First, we put glue on the pieces and then used clamps to hold everything together. Then we pin nailed everything together. We did one side of the board and then added the trim pieces on the other side so we could match everything up.
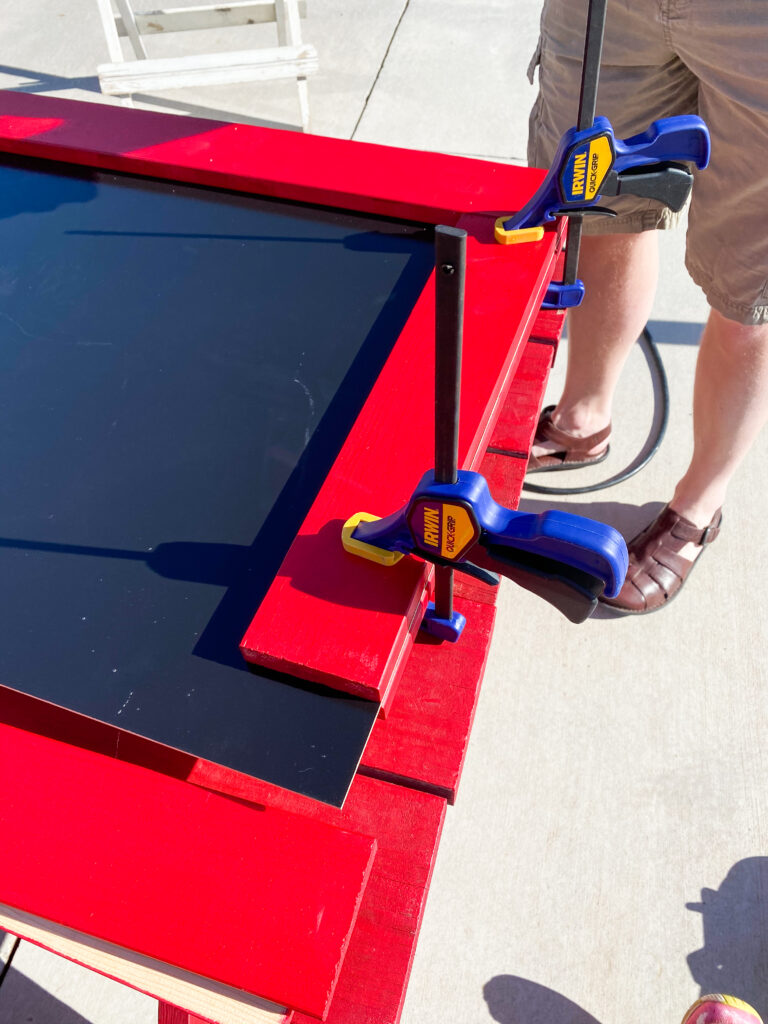
The pin nailer worked great for holding everything together and the glue is just added security.
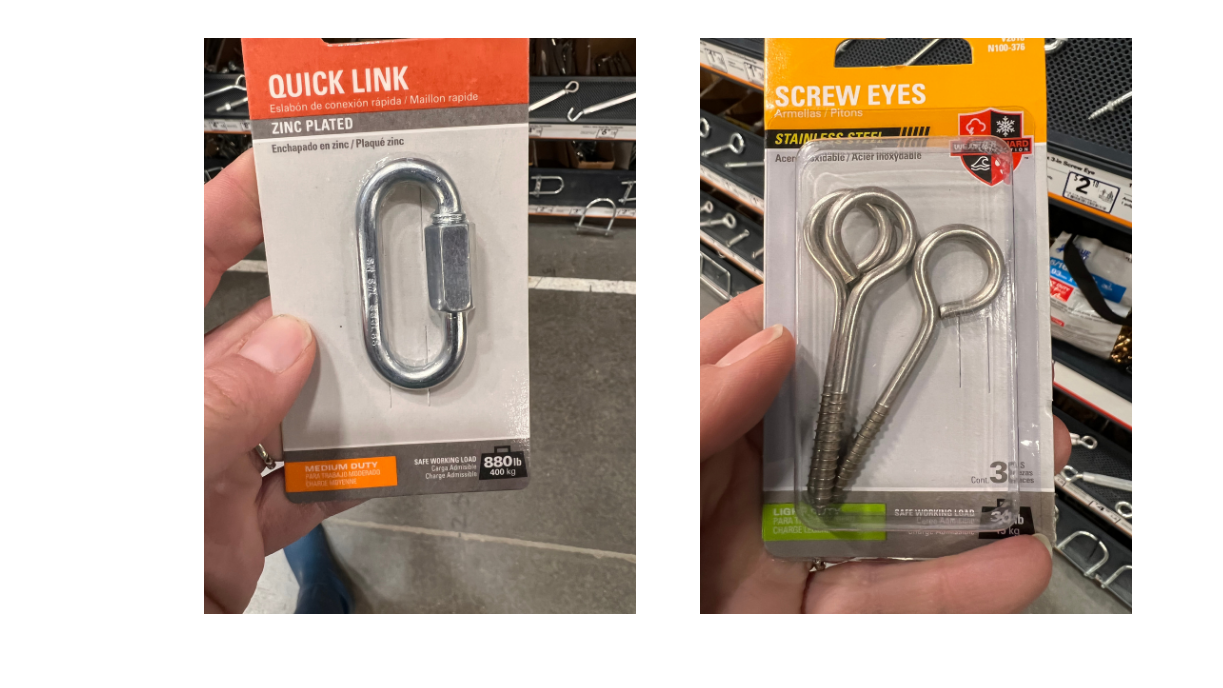
I wanted to be able to flip the boards around so that it would be easy to access the chalkboard or dry erase board without having to take anything apart. My husband had the great idea to use quick links that locked with screw eyes in the top of the boards.
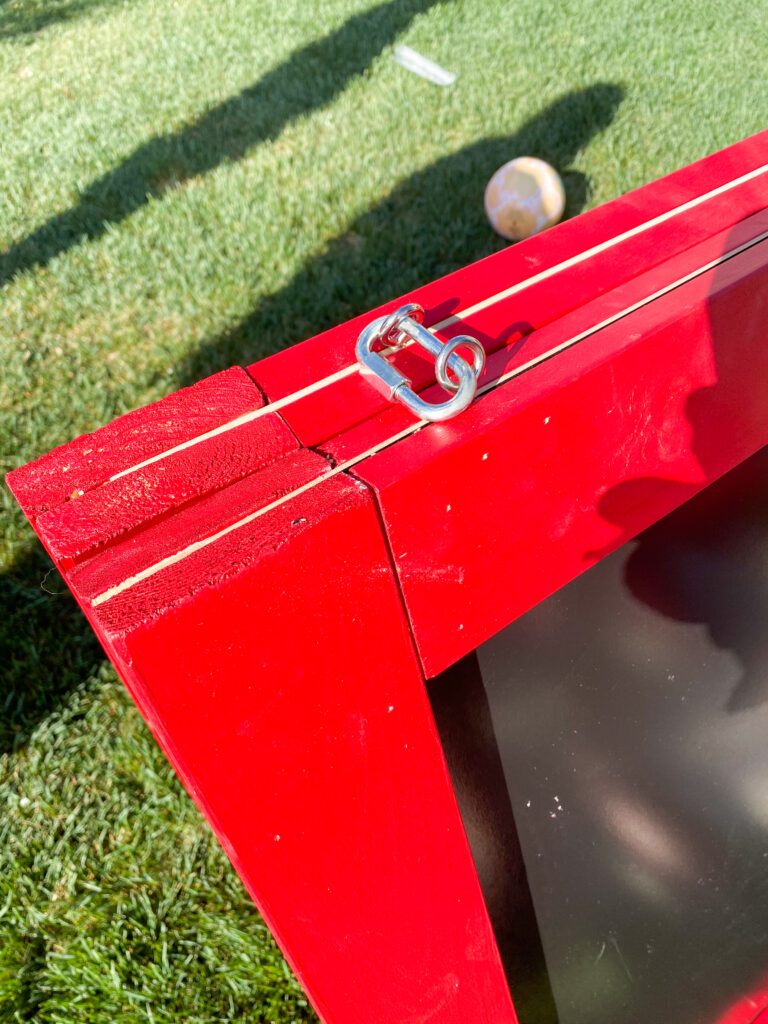
We just measured from the sides so all of the screw eyes would be equal and drilled a small hole. That made it easier to screw in the hook eyes. We then attached them together with the quick links.
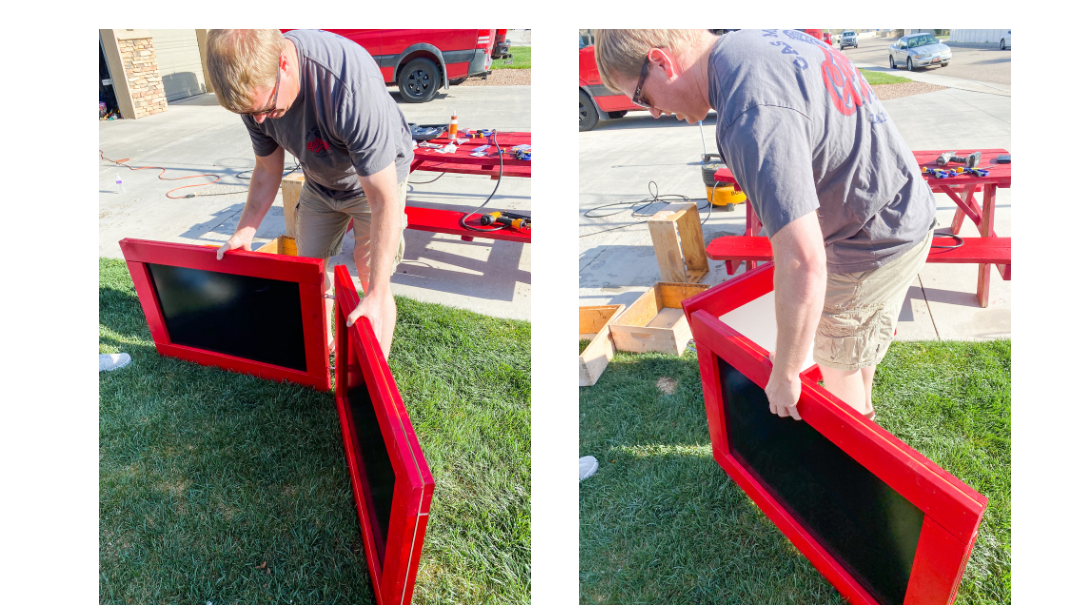
My husband is demonstrating how easy it is to flip from one side to the other. His idea worked like a charm!
I hope this inspires you to make your own DIY display board! Make a comment with a picture; I would love to see how it turns out! If you enjoyed this project, you might like my post on making a barn quilt. You can find that here.
One Comment
Comments are closed.