Barn Quilt and Shed Makeover
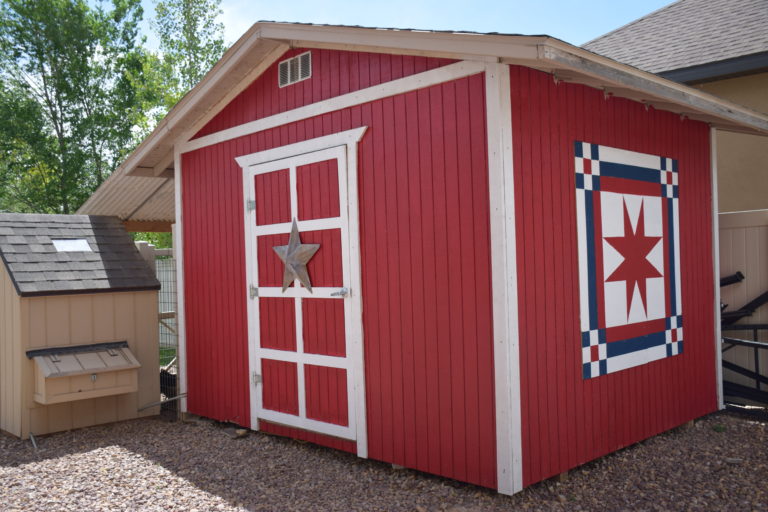
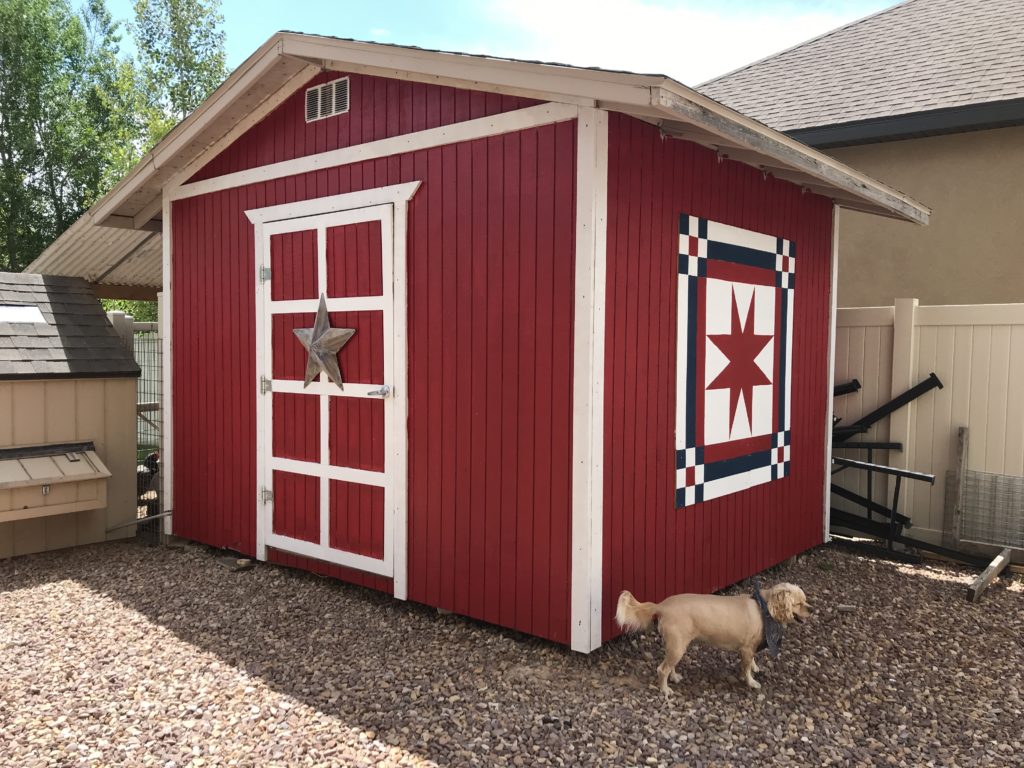
A barn quilt is the perfect way to dress up any old, neglected shed! With a little creativity and hard work, we’ll show you how to turn an old and forgotten shed into a work of art.

I saw this barn quilt in the magazine Living the Country Life and new I wanted it on my new chicken coop/shed. You can see that post here. I needed to repaint the shed anyway so I just as well make it pretty, right?

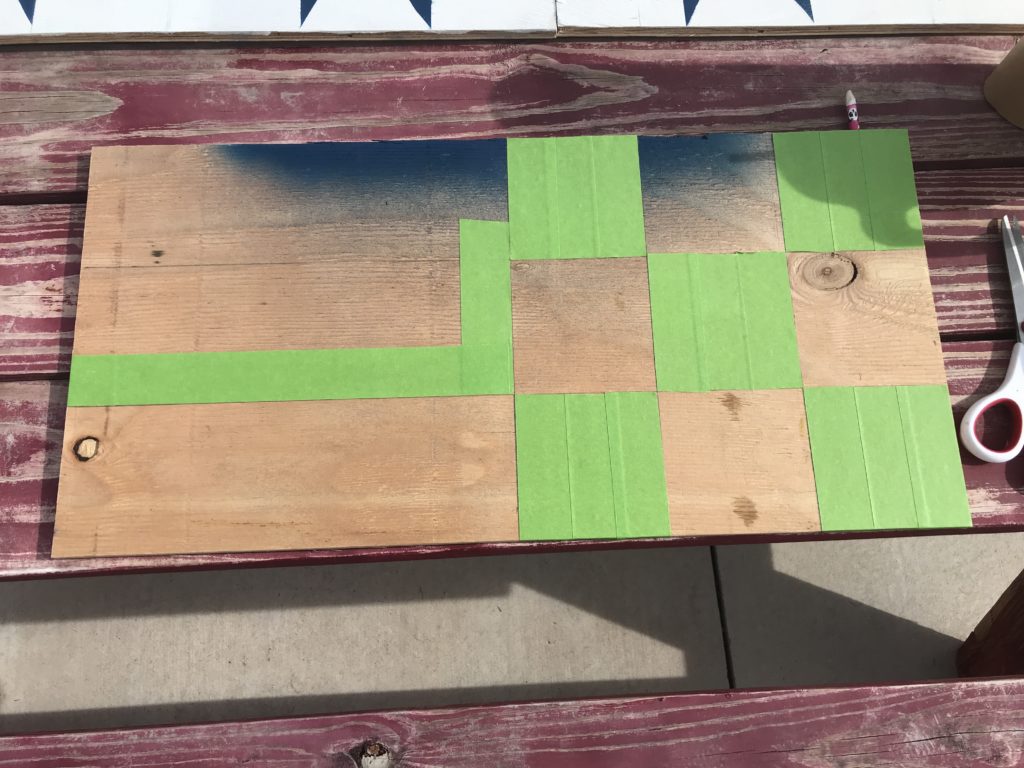
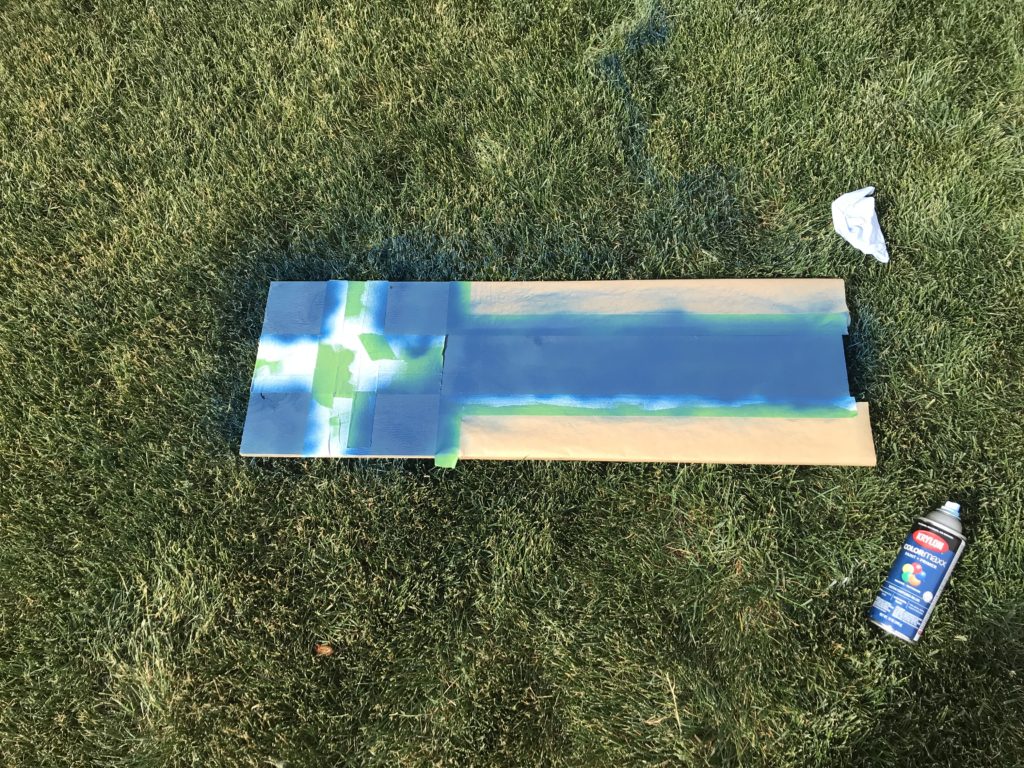
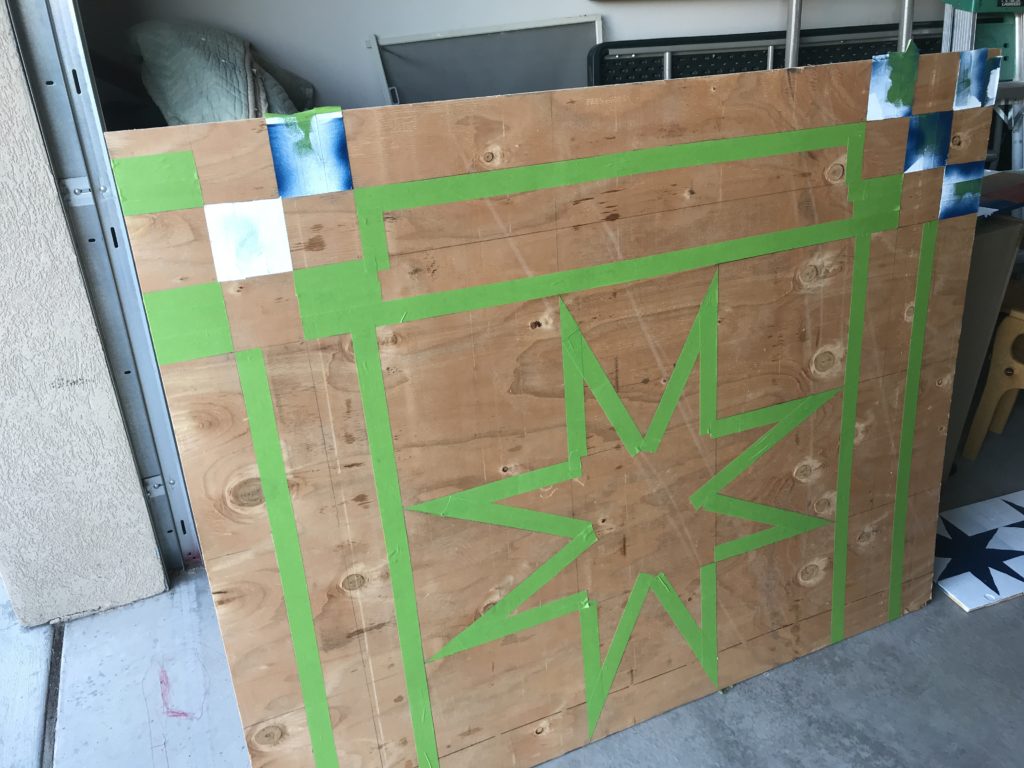
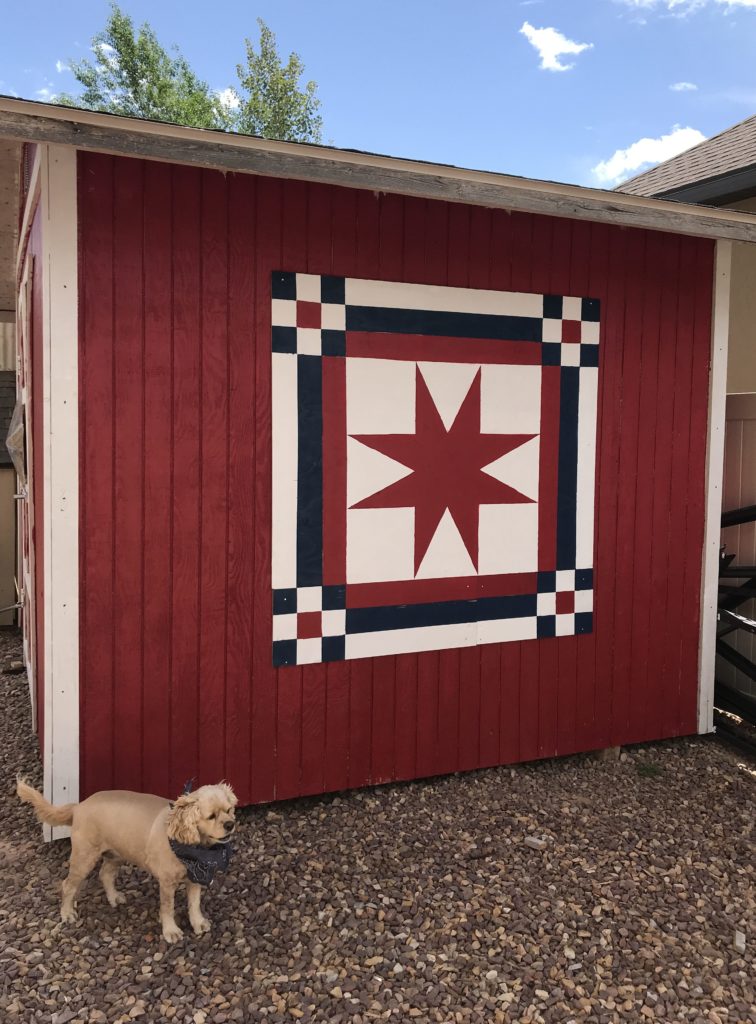
So the MDO plywood came in a 4 ft by 8 ft piece and I needed a 5 ft by 5 ft piece. So the nice guys at Lowe’s made five cuts for me and I ended up with the following pieces: 4 ft by 5 ft, 3 ft by 1 ft, 2 ft by 1 ft, 1 ft by 1 ft and two pieces that were 3 ft by 1 ft. That’s just how it ended up so I could have a 5 ft by 5 ft piece. I decided to use the extra pieces for practice and I could put them on the other sides of the shed. I used the red and white paint I had already purchased to paint the shed and then just bought a blue spray paint. I drew lines on the board where the design would go and wrote in each square what color it should be. I then painted with blue, retaped and painted with white and retaped and painted with red. It did end up being a bigger project than I anticipated, but most of my projects do!
I found that the blue paint peeled up a bit when I put painting tape on it. So I used red first, then white, then the blue. Good thing I had practice pieces.
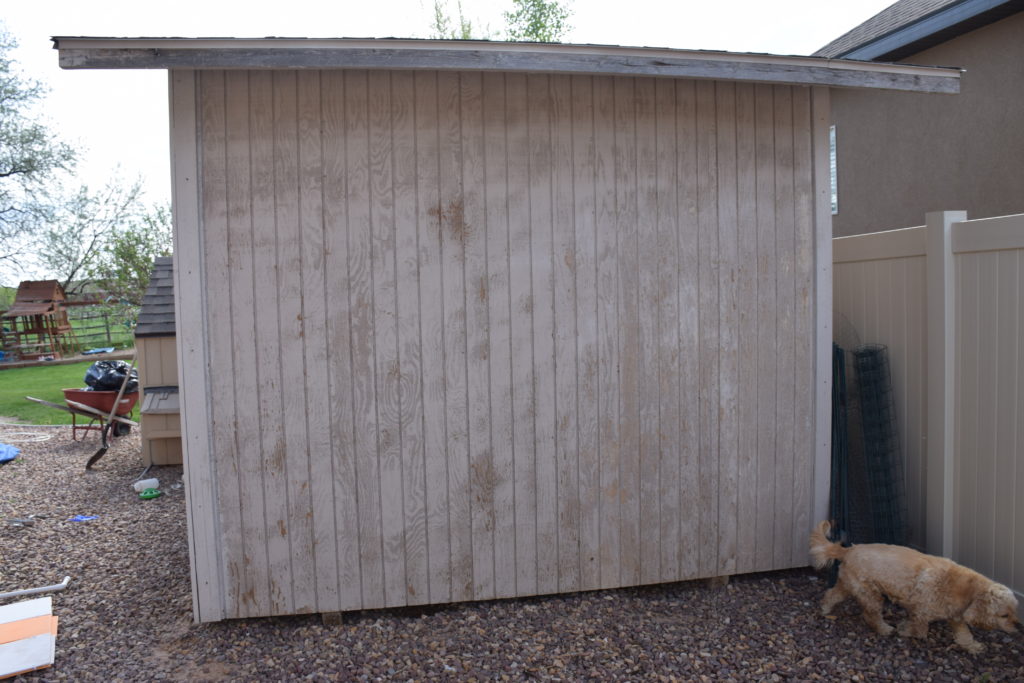

So on to painting the shed. It was just a plain beige but I wanted it to look like a cute red and white barn. The hard part was the ribs in the wood that I had to paint individually first and then paint over. It took some time.

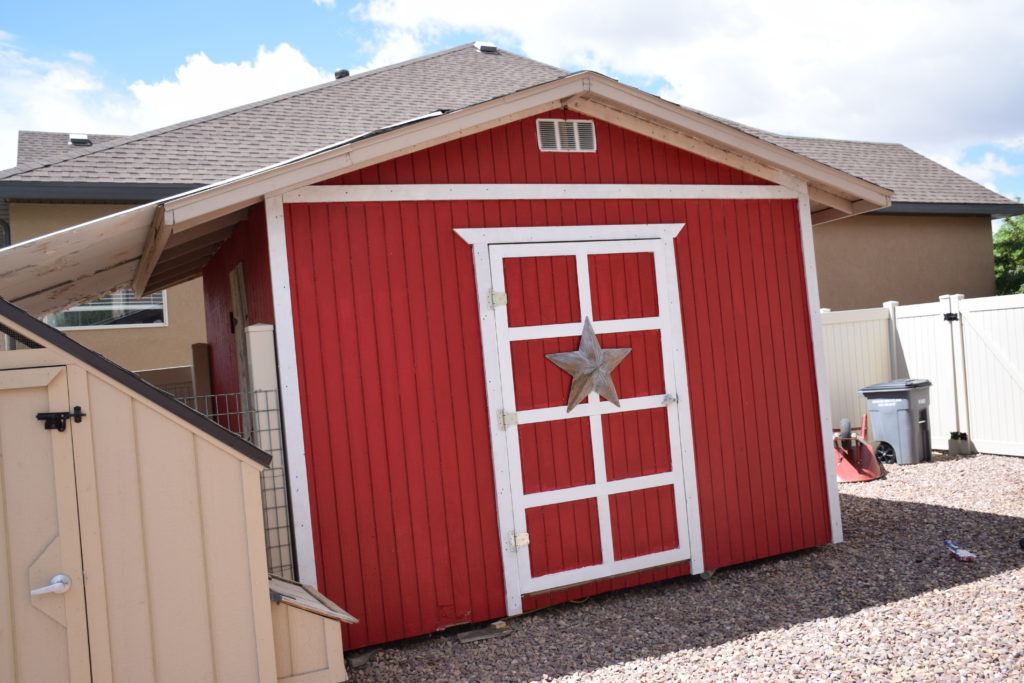
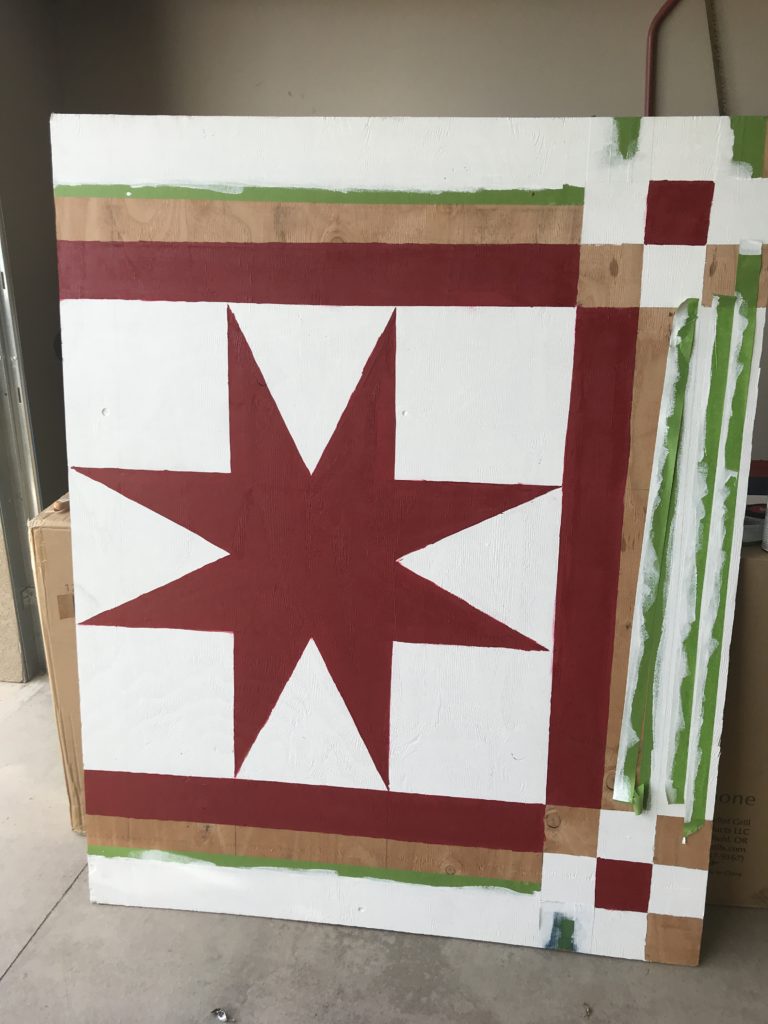
But the barn quilt ended up being pretty so it was worth the effort! If you enjoyed this post, you might like my post about a DIY Chalkboard/Dry Erase board. You can find that here!